If you’re venturing into the world of nail art or professional nail care, understanding your nail drill machine settings is crucial. Nail drills, also known as e-files, are powerful tools that can help you achieve salon-quality results from the comfort of your home. However, mastering the basics of these machines can make all the difference between flawless nails and potential damage. This guide will explain everything you need to know about nail drill machine settings to help you get started safely and effectively.
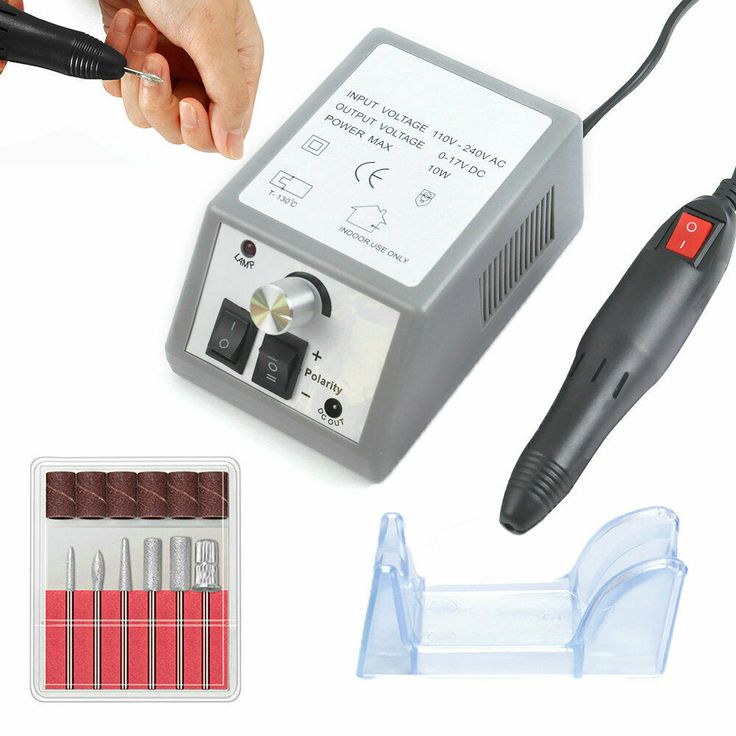
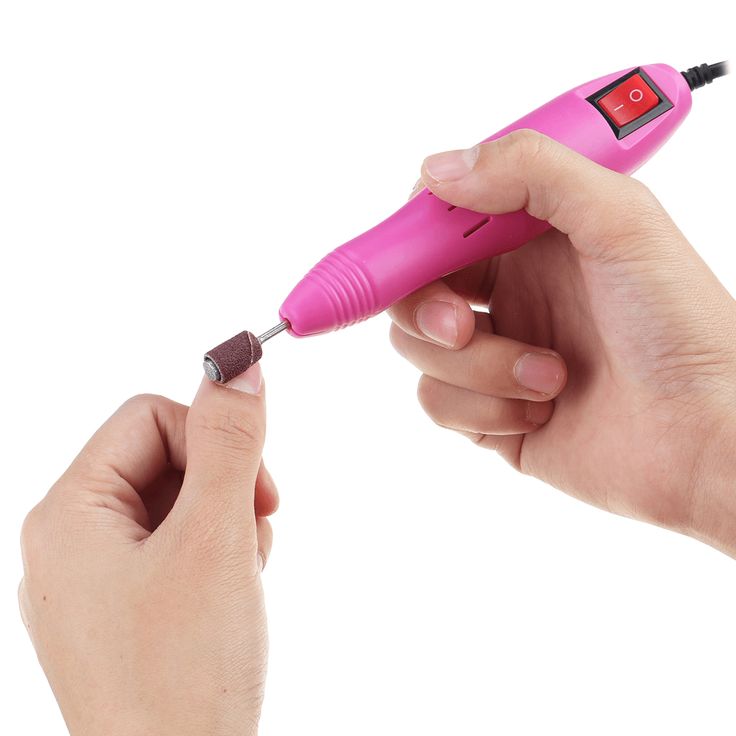
A nail drill machine typically has several settings that control the speed, direction, and type of work that can be performed. Here’s a breakdown of the main settings and how to use them:
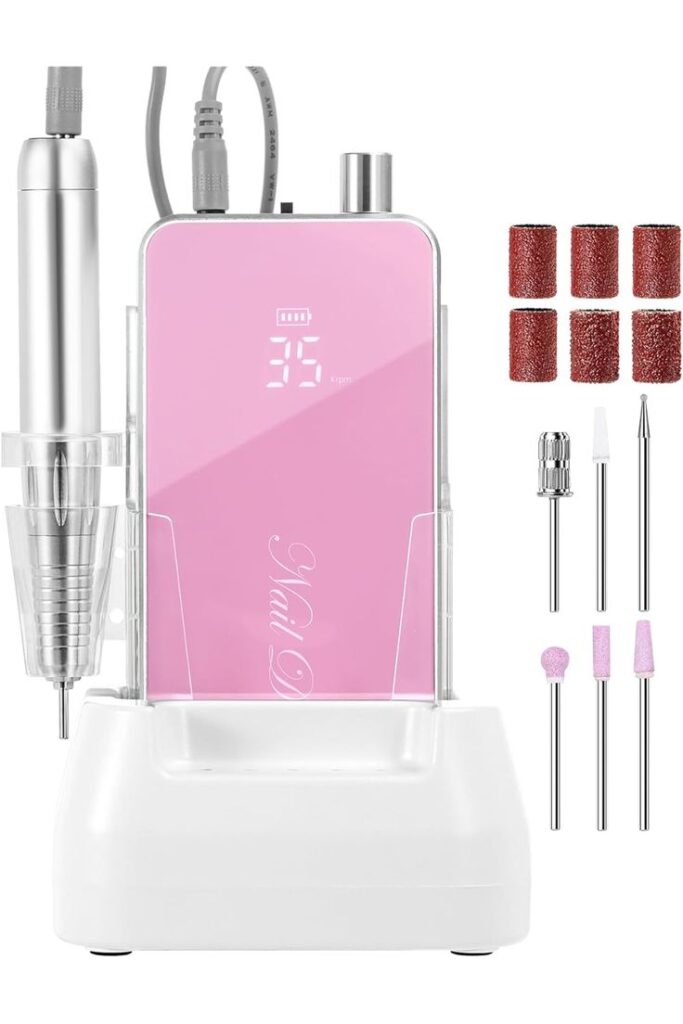
The speed setting on a nail drill machine controls how fast the drill bit rotates. It’s measured in rotations per minute (RPM). Most nail drills have a range of speeds, usually from 0 to 35,000 RPM. Here’s how to use different speeds:
Nail drills usually have forward and reverse settings to change the direction of the bit’s rotation. This feature is helpful for right-handed or left-handed users and for switching between hands when working on your nails.
Switching between these settings ensures you can comfortably use the drill no matter which hand you’re working on.
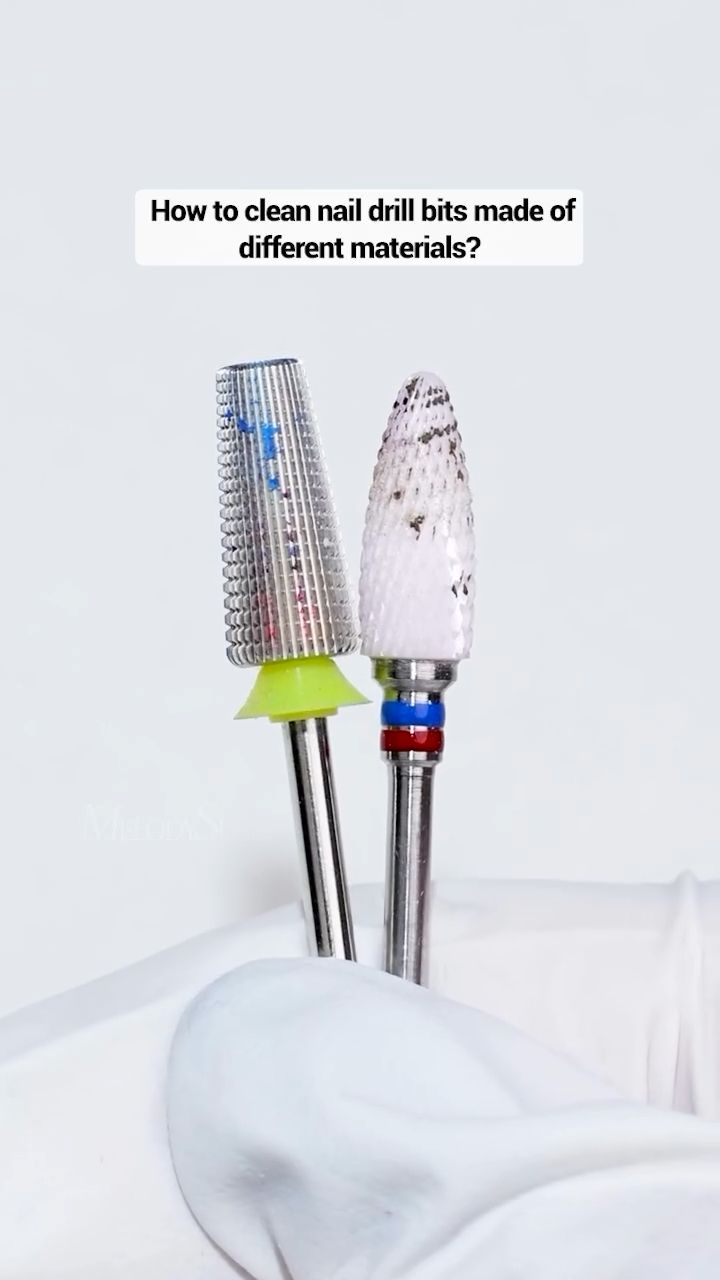
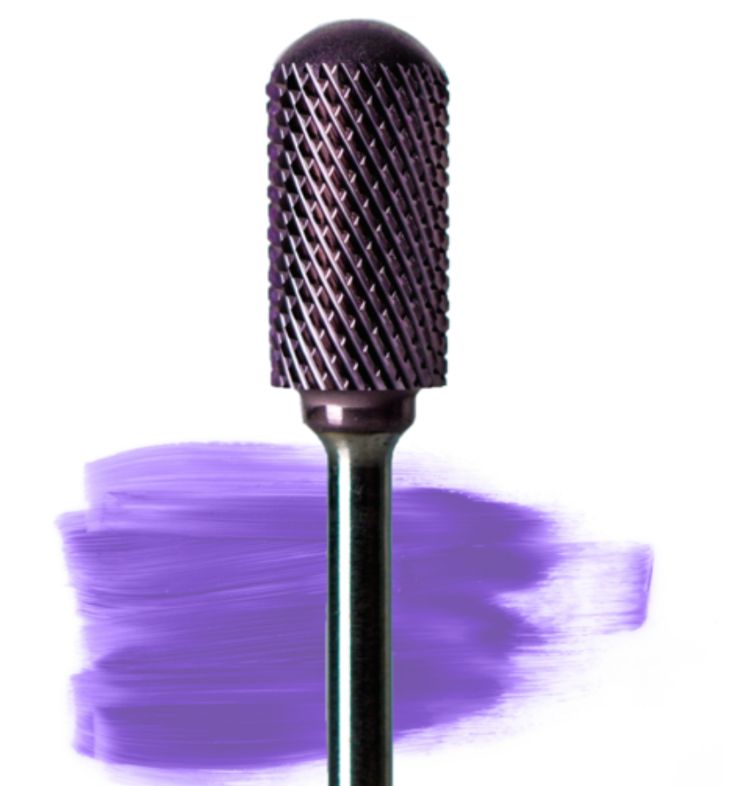
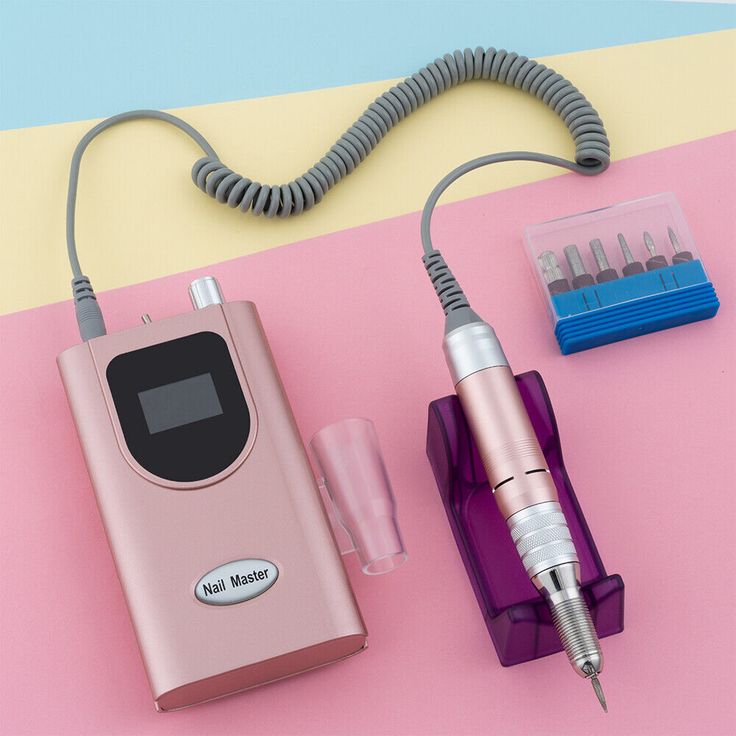
Different bits are used for various tasks, and selecting the right bit is crucial for achieving the desired results. Here are the most common types of bits:
Understanding these bit types helps prevent nail damage and ensures you achieve the desired nail shape and finish.
Torque refers to the power behind the nail drill. While most beginners focus on speed, torque is equally important because it determines how well the drill maintains speed under pressure. High torque prevents the drill from bogging down when applying pressure, making it easier to work on tougher nail materials like acrylic.
Q1: What speed should I use for natural nails?
A1: For natural nails, use a low speed setting between 0-5,000 RPM to gently prep the nail surface and work around the cuticles without causing damage.
Q2: Why is my nail drill getting hot?
A2: Your nail drill might get hot due to excessive speed, prolonged use, or too much pressure. Always start slow, use the appropriate bit, and avoid pressing down too hard on the nail.
Q3: Can I use a nail drill at home as a beginner?
A3: Yes, but it’s essential to start with low speeds and basic bits like sanding bands to avoid damaging your nails. Practice on a dummy hand or spare nails before using the drill on yourself.
Q4: How do I maintain my nail drill machine?
A4: Regularly clean your drill bits with a brush and disinfectant. Store the machine in a cool, dry place and avoid dropping it to prevent internal damage.
Q5: What is the difference between forward and reverse settings?
A5: The forward setting rotates the drill bit clockwise, while the reverse rotates it counter-clockwise. These settings help right-handed and left-handed users comfortably use the drill or switch hands without difficulty.
Mastering the settings on your nail drill machine is the key to achieving professional-quality nails at home. By understanding the speed, direction, torque, and bit types, you can ensure a smooth and safe experience every time. Remember to practice regularly, stay updated with nail industry insights, and follow the latest trends in nail technology and techniques for stunning results. Happy drilling!


One Response