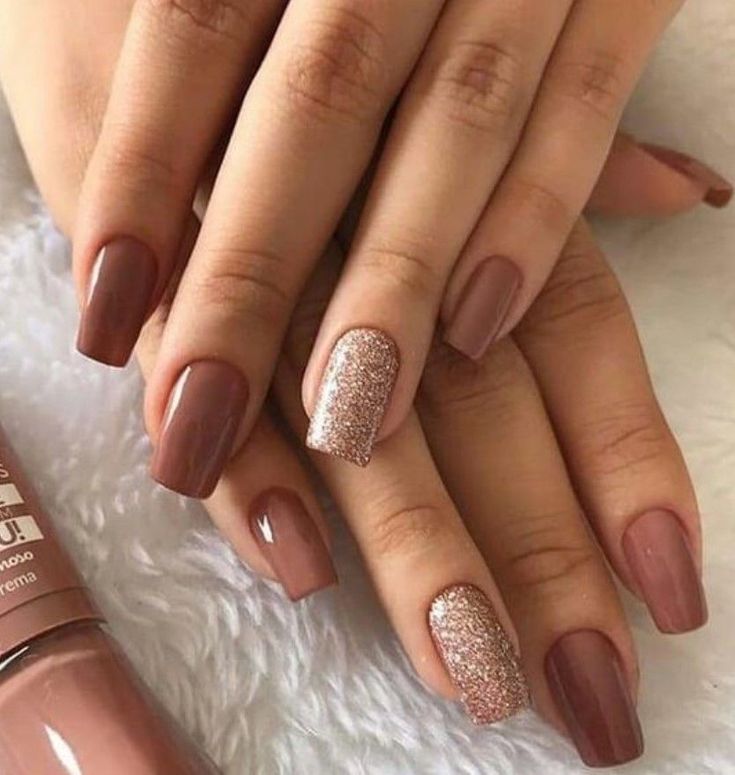
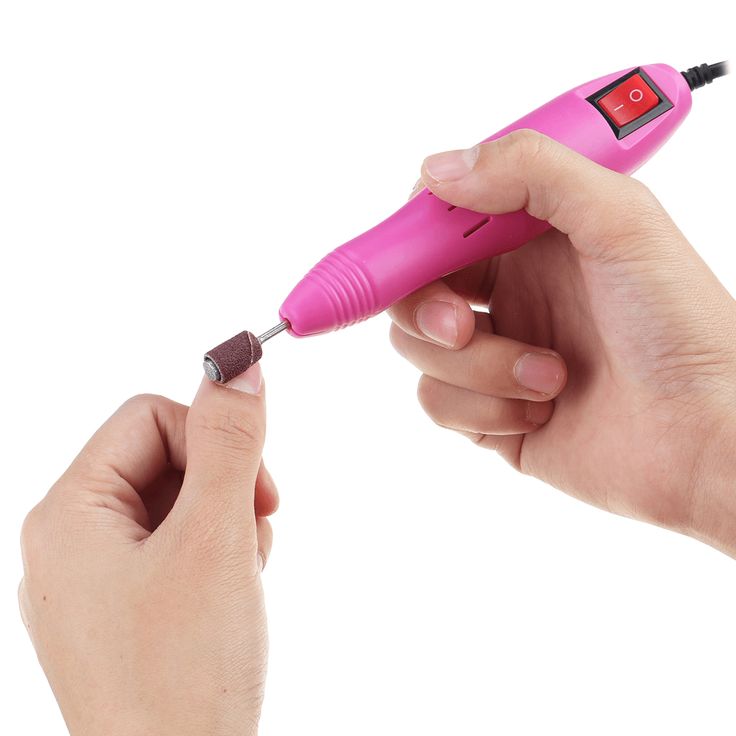
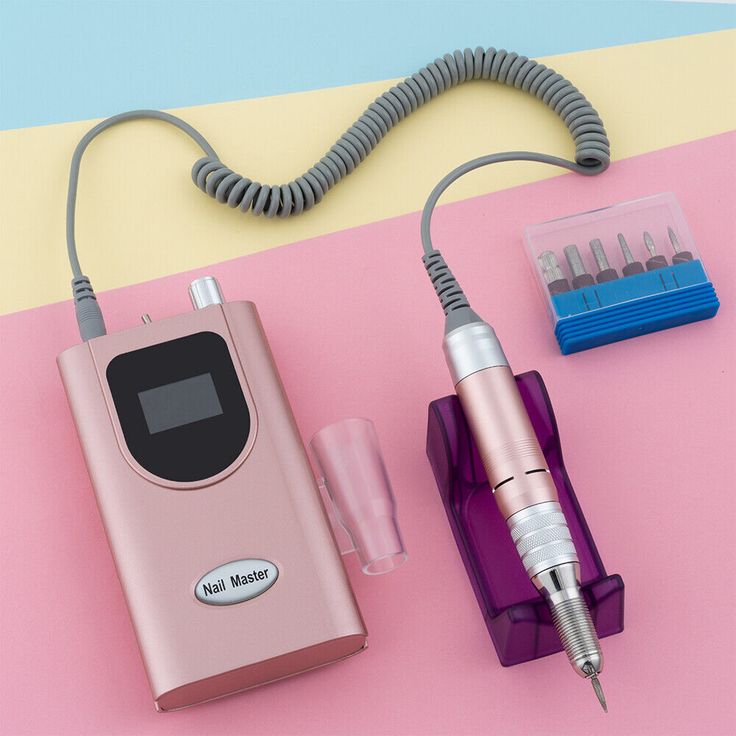
Gel nail art is an ever-evolving trend, offering durability, shine, and endless creative possibilities. With a NailDrillMachine, you can elevate your nail art, creating professional-quality designs from the comfort of your home. Whether you’re a seasoned pro or a beginner, these ten gel nail art ideas are perfect for experimenting with intricate and eye-catching designs. Let’s dive into the world of gel nail art and discover how you can master these techniques with your nail drill.
Description: Achieve a luxurious, marble-inspired look with your gel nails.
How-To: Start with a base gel color, then use a fine drill bit to carve delicate, wavy lines that mimic marble veins. Fill these lines with a contrasting gel color and gently blend for a natural effect.
Pro Tip: Stick with classic white and grey for a timeless look, or experiment with pastel shades for a fresh twist.
Description: Modern and bold, geometric patterns make a striking statement.
How-To: Use your nail drill to etch precise lines, triangles, and other shapes onto your gel nails. You can fill in the shapes with different gel colors or textures to add dimension.
Pro Tip: Mix matte and glossy finishes within the same design for a sophisticated contrast.
Description: Bring the beauty of nature to your nails with detailed floral designs.
How-To: After applying a base coat, use a fine drill bit to carve out petals, leaves, and delicate floral patterns. Add color to the carved areas for a vibrant, lifelike effect.
Pro Tip: Layer different floral designs on each nail for a cohesive garden-inspired look.
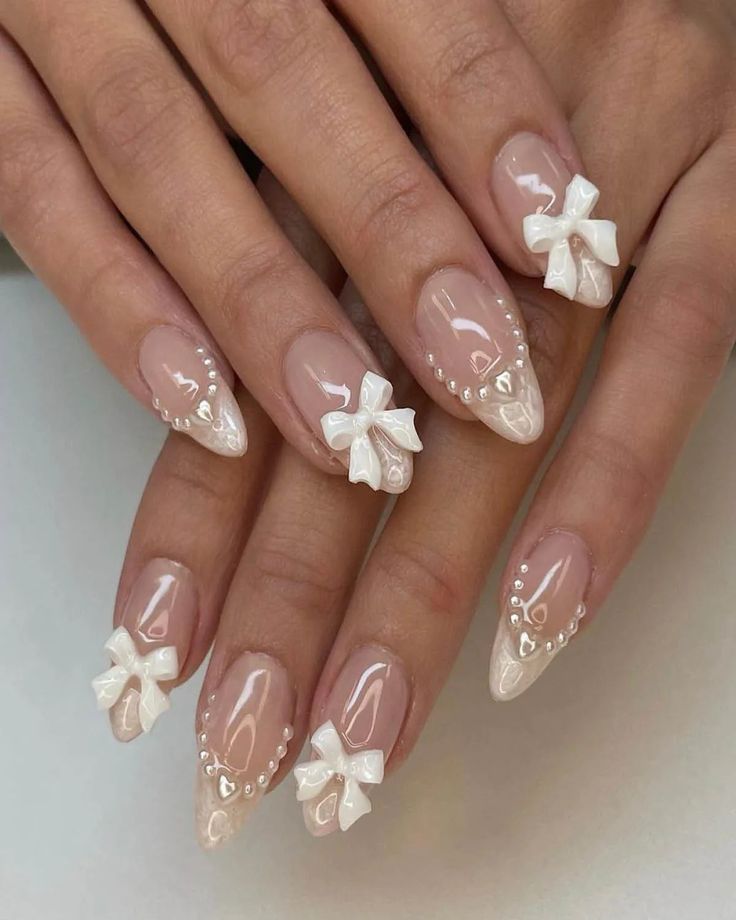
Description: Add depth and texture to your nails with embossed 3D designs.
How-To: Carve out patterns like lace or abstract shapes using your drill, then apply a thick gel polish over the designs to create a raised, embossed effect.
Pro Tip: Metallic or glitter gels enhance the 3D effect, making your designs stand out.
Description: Create a smooth transition of colors with gradient ombre nails.
How-To: After applying your base color, use a soft buffer bit on your drill to blend a second color from the tips towards the cuticle, achieving a seamless gradient.
Pro Tip: Bold colors like black to red create a dramatic look, while pastel gradients offer a subtle, dreamy effect.
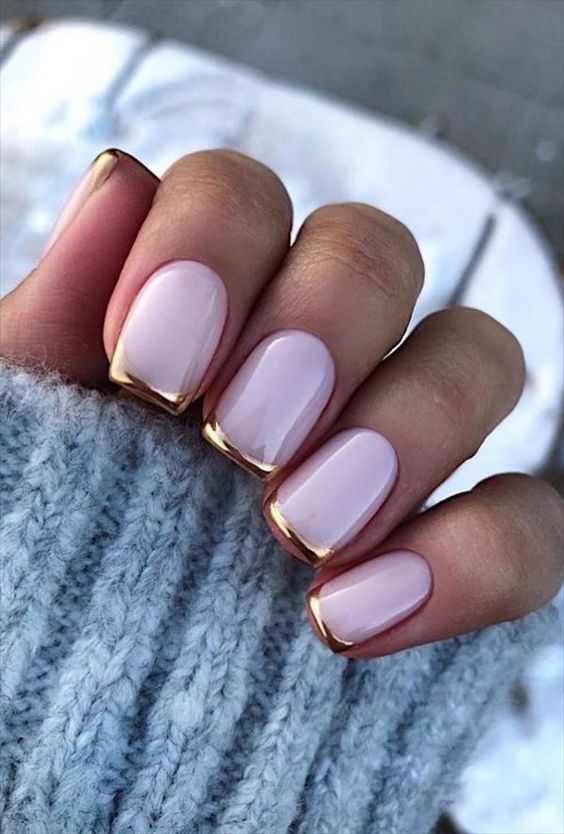
Description: Negative space designs are a modern twist that plays with contrasts.
How-To: Use your drill to carve out shapes, revealing the natural nail beneath. Shapes like stripes, triangles, or abstract patterns create striking contrasts.
Pro Tip: Negative space pairs well with minimalist or geometric designs for a chic, modern look.
Description: Add some bling to your gel nails with jewel-encrusted designs.
How-To: Use your drill to create small indentations where you want to place your jewels. Secure them with clear gel polish and cure under UV light to set.
Pro Tip: Mixing small and large jewels adds dimension and a touch of luxury to your nails.
Description: Animal prints are a timeless trend that you can easily recreate.
How-To: Use your drill to etch out patterns like leopard spots or zebra stripes, then fill them in with gel polish for a realistic finish.
Pro Tip: Try unconventional colors, like metallic zebra stripes or pastel leopard spots, for a modern twist.
Description: Add a subtle touch of sparkle with glitter accents around your cuticles.
How-To: Use your drill to carve a fine line around the cuticle area, then fill it with glitter gel polish for a sparkling border.
Pro Tip: Choose glitter colors that complement your base polish for a cohesive look.
Description: Let your creativity shine with abstract nail designs.
How-To: Use various drill bits to create abstract shapes, lines, and dots. Blend different gel colors for an artistic, unique finish.
Pro Tip: Combining multiple colors and textures, like matte, glossy, and glitter gels, can make your abstract designs pop.
Q1: Can beginners use a nail drill machine to create these gel nail art designs?
A: Absolutely! While it may take some practice, beginners can start with simpler designs, like geometric patterns or ombre nails, and gradually work up to more intricate designs like floral patterns or 3D embossed art.
Q2: What type of drill bit should I use for intricate designs?
A: For detailed work, fine and pointed drill bits are ideal. They offer the precision needed to carve out delicate patterns without damaging the nail or gel polish.
Q3: How do I maintain my nail drill machine for consistent performance?
A: Regular maintenance is key. Clean the drill bits after each use by soaking them in disinfectant, and periodically check the machine for any signs of wear or damage. Proper care extends the life of your nail drill and ensures consistent results.
Q4: Can I combine different gel nail art techniques in one design?
A: Yes! Combining techniques like geometric patterns with glitter accents or marble effects with negative space can create unique, personalized nail art. Don’t be afraid to experiment and mix styles.
Q5: How do I avoid damaging my nails while using a nail drill machine?
A: Start with a low speed setting, especially if you’re new to using a nail drill. Use light pressure and make sure to choose the appropriate bit for each task to avoid over-filing or damaging your nails.
Gel nail art offers endless creative possibilities, and with the help of a NailDrillMachine, you can achieve salon-quality designs at home. From the luxurious look of marble nails to the bold statement of geometric patterns, these ten ideas provide plenty of inspiration for your next manicure. Remember to experiment, practice, and most importantly, have fun creating your unique nail art masterpieces.


One Response