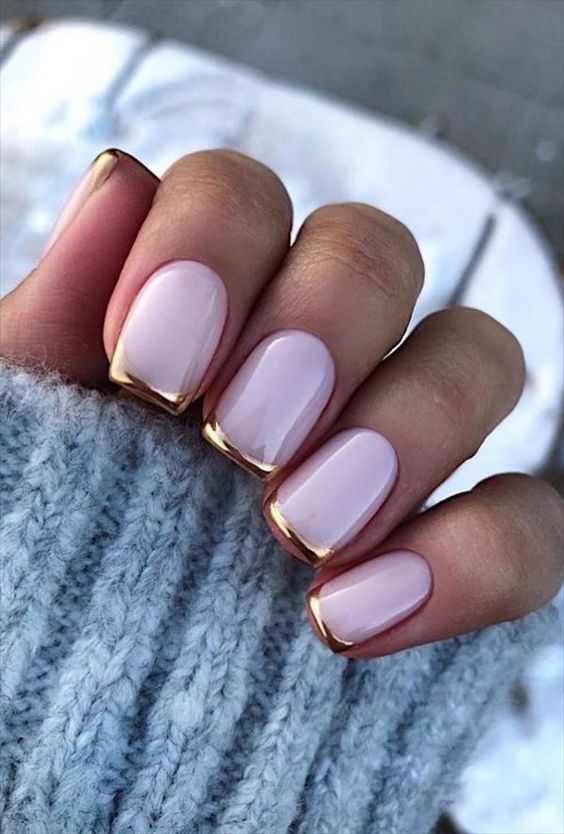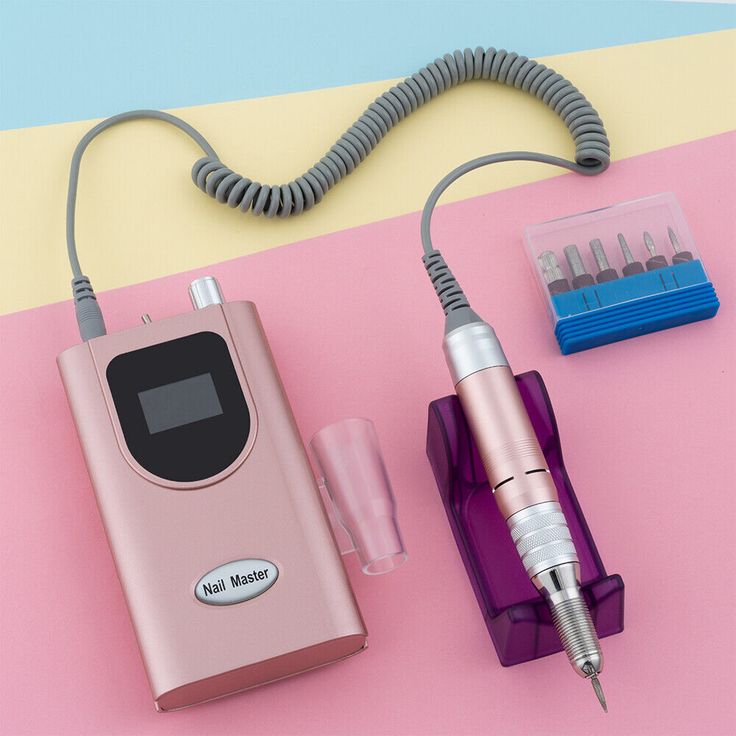
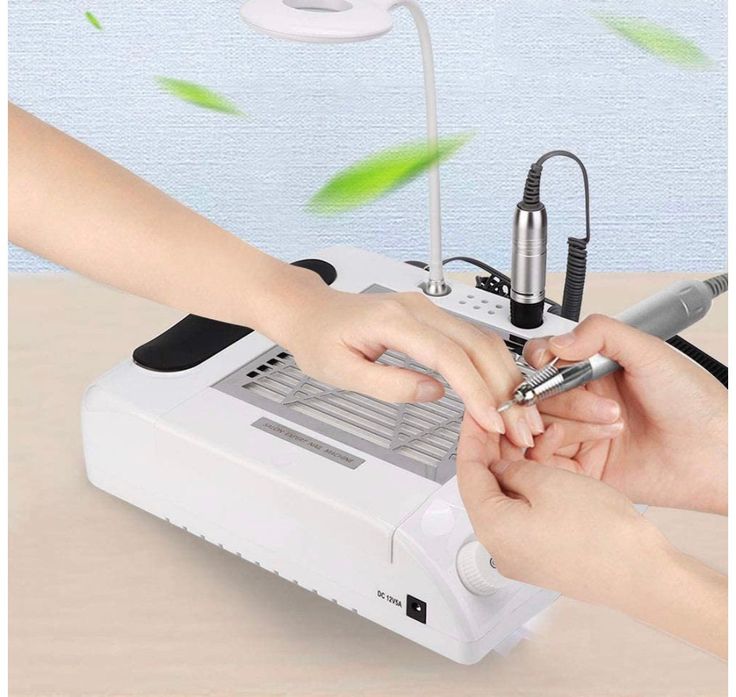
Achieving a flawless ombre effect on your nails is easier than ever with the right tools and techniques. A NailDrillMachine allows for precision and control, helping you blend colors seamlessly for that perfect gradient look. In this article, we’ll guide you through the process of mastering ombre nails using a nail drill machine.
Q1: What is an ombre nail design?
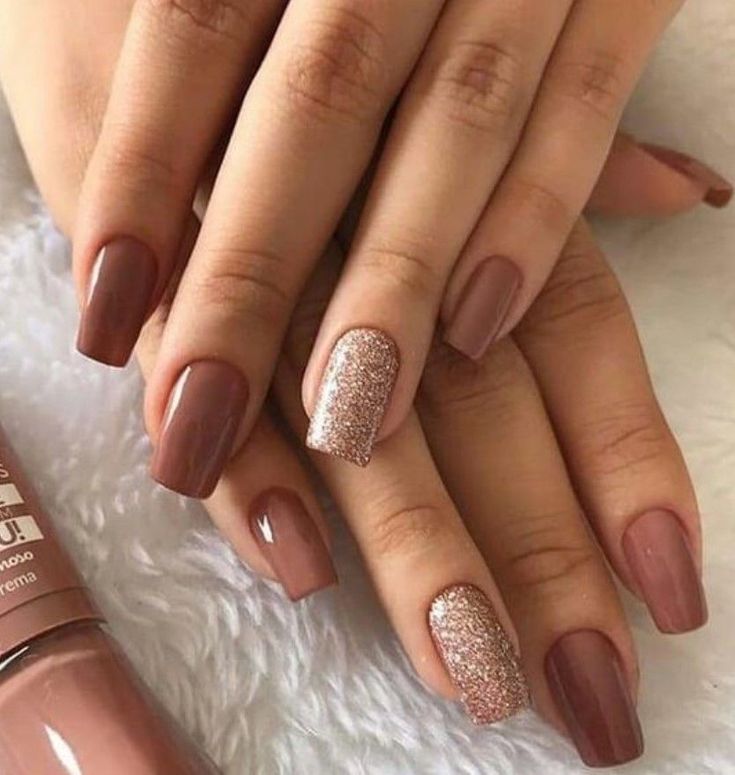
A: Ombre nails feature a smooth transition between two or more colors, creating a gradient effect that can be subtle or bold, depending on the colors chosen.
Q2: Can I create ombre nails at home with a nail drill machine?
A: Absolutely! With the right drill bit and technique, you can achieve salon-quality ombre nails at home. It may take some practice, but the results are worth it.
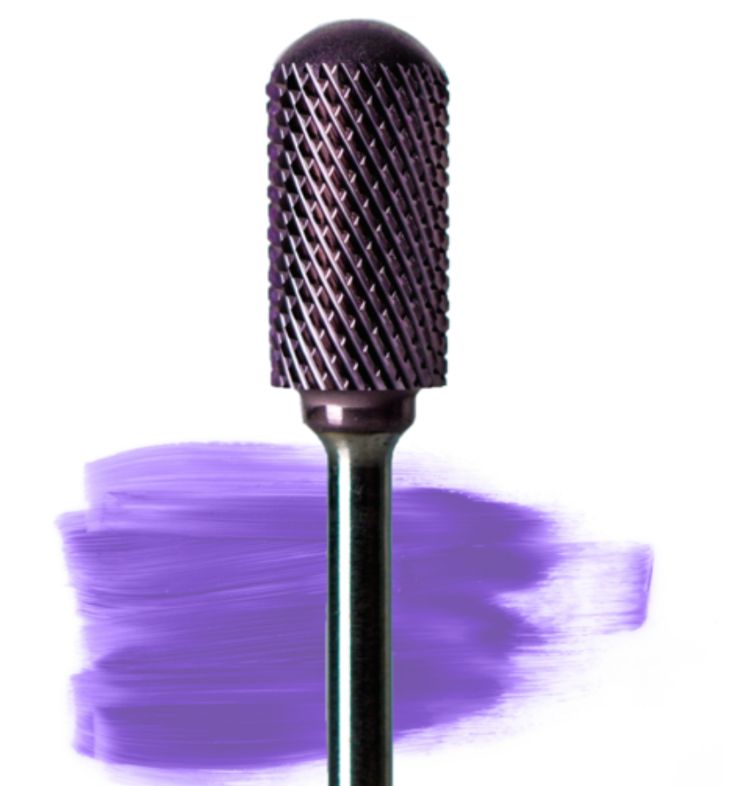
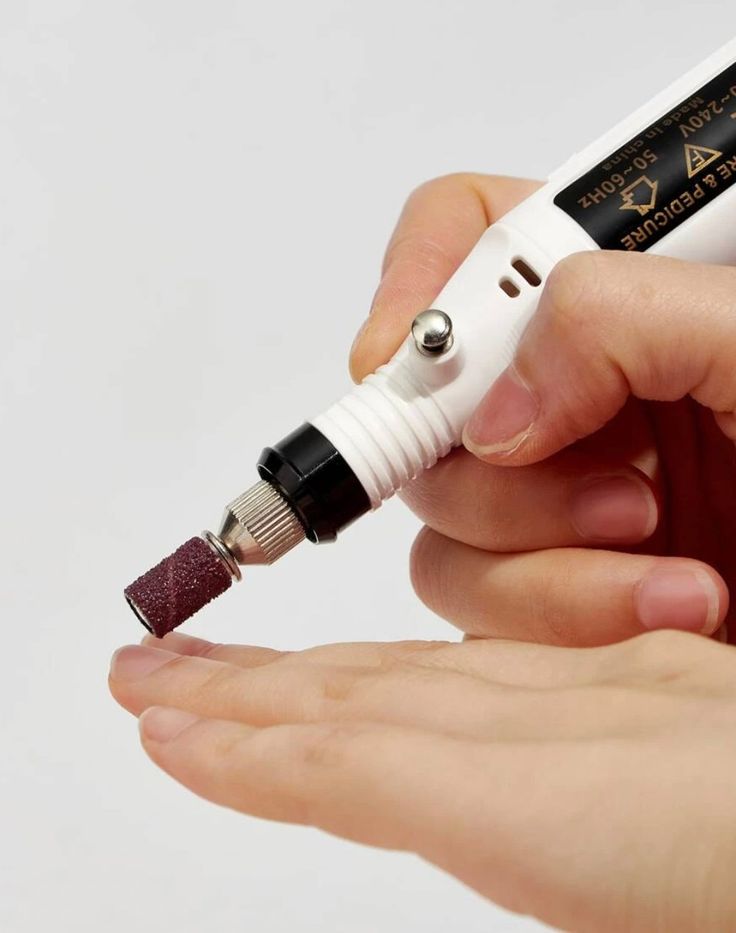
Q3: What type of drill bit should I use for blending colors?
A: A soft buffer bit works best for blending colors smoothly. It allows you to gently transition between shades without creating harsh lines.
Q4: How do I choose the right colors for an ombre effect?
A: Choose colors that complement each other. For a subtle gradient, select shades within the same color family. For a more dramatic look, choose contrasting colors like black and white or blue and pink.
Q5: How do I avoid common mistakes when creating ombre nails?
A: Start with a light touch and gradually build up the color. Avoid pressing too hard with the drill, as this can cause uneven blending. Practice makes perfect, so don’t get discouraged if it takes a few tries to get it right.
1. Prepare Your Nails
Begin by prepping your nails as you would for any gel manicure. Shape them, push back the cuticles, and buff the surface lightly to ensure the gel adheres properly. Apply a base coat and cure it under a UV or LED lamp according to the product instructions.
2. Choose Your Colors
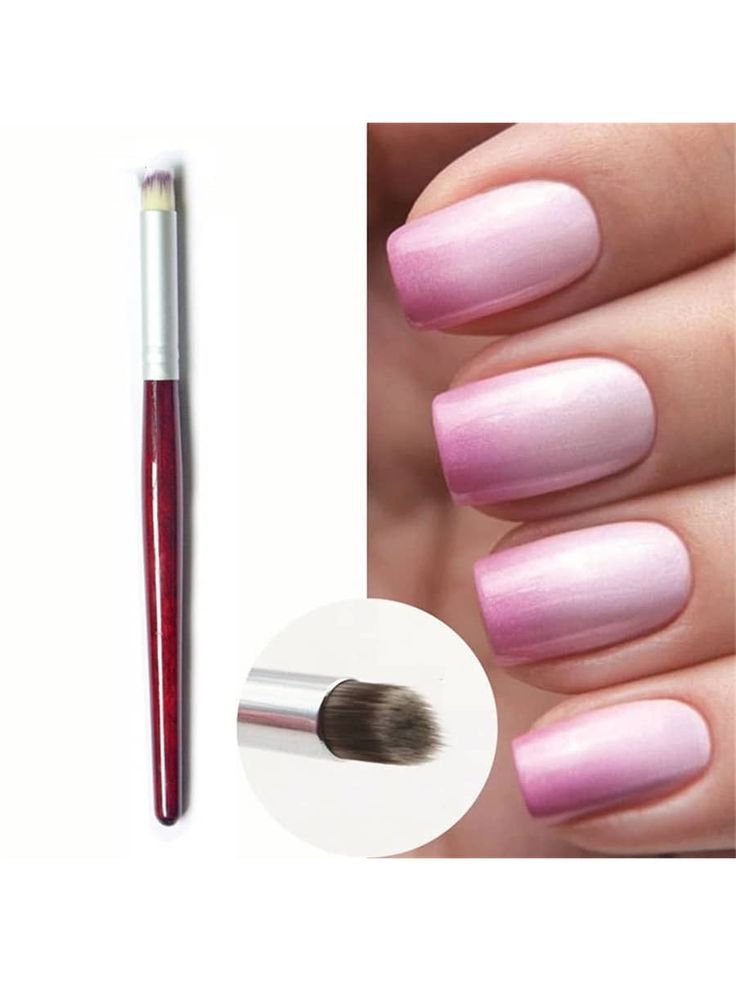
Select the gel polish colors for your ombre design. You’ll need at least two shades—one for the base and one for the gradient. For a more complex look, you can use three or more colors.
3. Apply the Base Color
Apply the lightest color as your base coat. This will serve as the foundation for your ombre effect. Cure the base coat under the lamp.
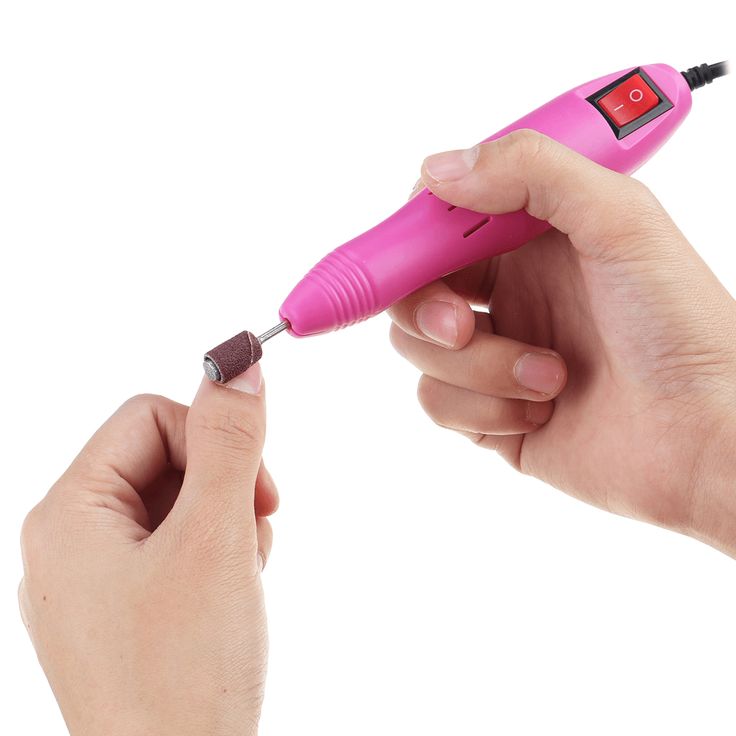
4. Blend the Colors with a Nail Drill Machine
Once your base color is cured, apply the second color at the tip of your nail. Use a soft buffer bit on your NailDrillMachine to gently blend the second color downwards towards the middle of the nail. Work slowly to achieve a smooth gradient, adding more polish if necessary to intensify the color.
5. Cure and Repeat
After blending the first layer, cure it under the lamp. For a more intense gradient, repeat the process—adding another layer of the second color and blending it further down the nail. Cure each layer before moving on to the next.
6. Add Additional Colors (Optional)
If you’re using more than two colors, apply the third color at the very tip of the nail and blend upwards into the second color using the same technique. Cure each layer under the lamp.
7. Seal the Design
Once you’re satisfied with your ombre effect, apply a top coat to seal in your design and add shine. Cure the top coat under the lamp, then wipe off any sticky residue with a lint-free wipe soaked in alcohol.
8. Finishing Touches
Finish by moisturizing your cuticles with a nourishing oil. Your ombre nails are now complete!
Ombre nails are a stunning way to showcase your creativity and style. With the help of a NailDrillMachine, you can easily achieve this trendy design at home. Whether you prefer soft pastels or bold, contrasting colors, mastering the ombre technique will elevate your nail art game. Remember to take your time, practice, and most importantly, have fun with it!