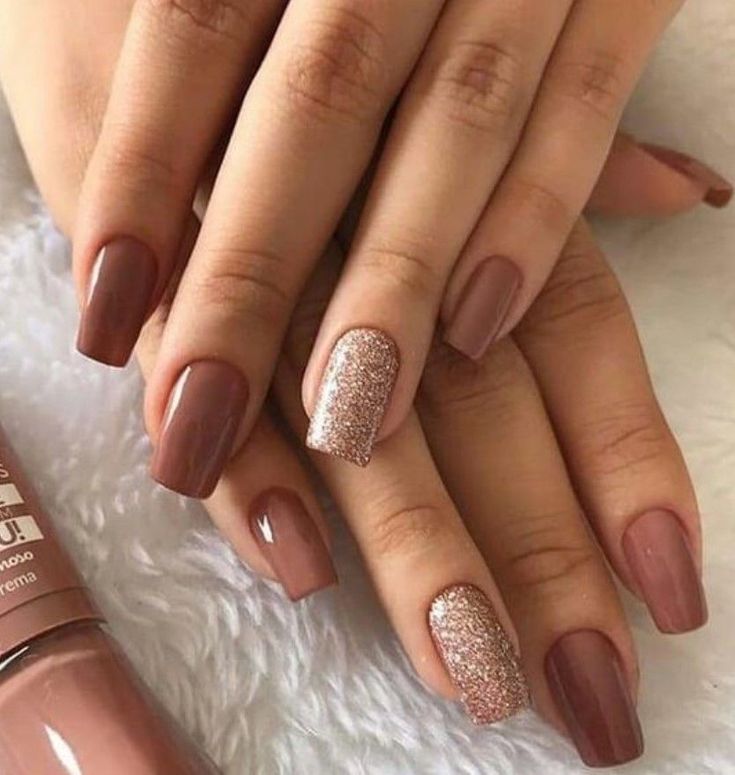
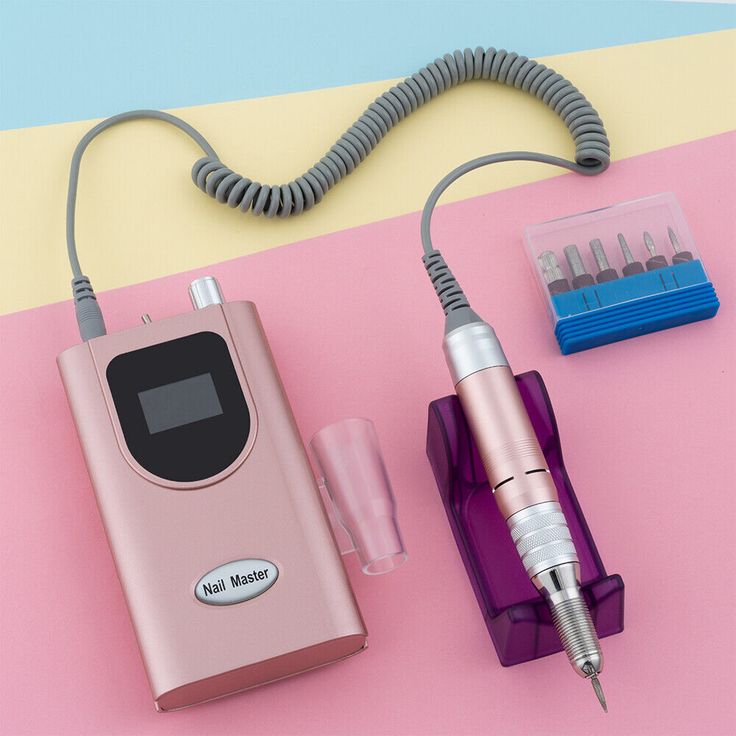
Selecting the correct drill bit for your NailDrillMachine is crucial for achieving beautiful nails while maintaining safety. The right bit can enhance your nail care routine, prevent damage, and ensure effective results. This guide will help you understand the various types of drill bits available and how to choose the best one for safe and effective nail care.
FAQs
Q1: What are the different types of drill bits available for nail drills? A: Common types include sanding bands, carbide bits, diamond bits, ceramic bits, and metal bits. Each type has specific uses and benefits depending on the task.
Q2: How do I know which drill bit to use for my specific nail needs? A: The choice of drill bit depends on the task. For example, sanding bands are great for general filing and shaping, while carbide and diamond bits are used for more precise work like cuticle removal or acrylic nail enhancements.
Q3: Are ceramic drill bits better than metal bits? A: Ceramic drill bits are generally preferred for their durability and smooth operation, reducing heat and friction. Metal bits are effective but can cause more heat and wear out faster.
Q4: How often should I replace my drill bits? A: Replace drill bits when they become dull, chipped, or show signs of excessive wear. Regular maintenance and proper cleaning can extend their lifespan.
Q5: Can using the wrong drill bit cause nail damage? A: Yes, using the wrong drill bit can lead to over-filing, excessive heat, and damage to the nail plate or surrounding skin. Always use the appropriate bit for the task to avoid these issues.
Choosing the Right Drill Bit for Safe Nail Care
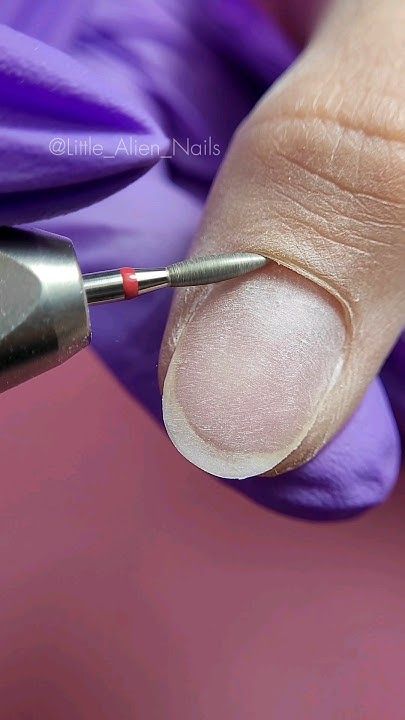
1. Understand the Types of Drill Bits
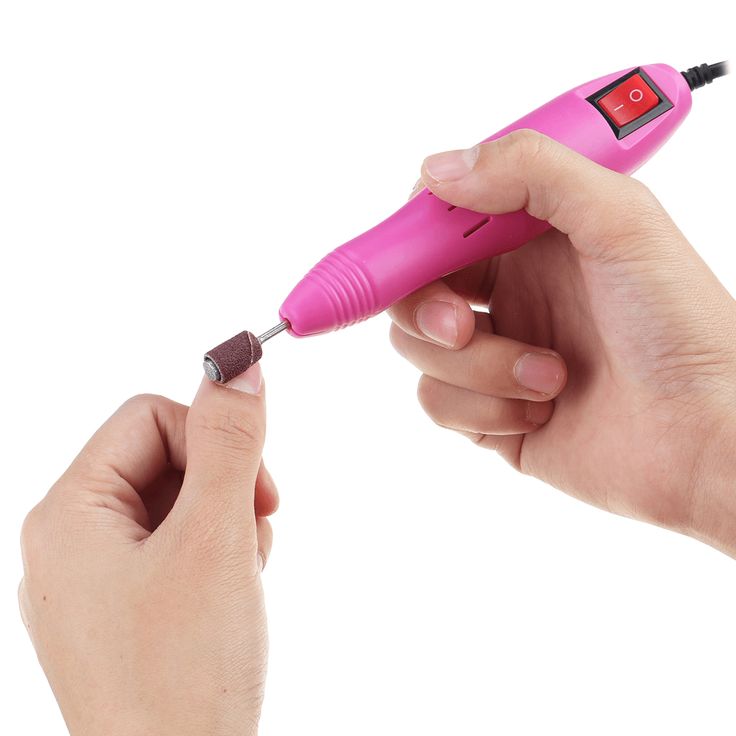
Sanding Bands: Ideal for general filing, smoothing, and shaping natural nails and acrylics. They are disposable and come in various grits, making them versatile and easy to replace.
Carbide Bits: Known for their durability and precision, carbide bits are excellent for cutting, shaping, and removing product. They are suitable for more advanced tasks like cuticle work and acrylic nail enhancements.
Diamond Bits: These bits are perfect for detailed work and are highly effective in smoothing and finishing. They are gentle on natural nails and are often used for cuticle care and nail surface refinement.
Ceramic Bits: Ceramic bits are popular for their smooth operation and ability to stay cooler during use. They are ideal for reducing friction and heat, making them a good choice for both natural and artificial nails.
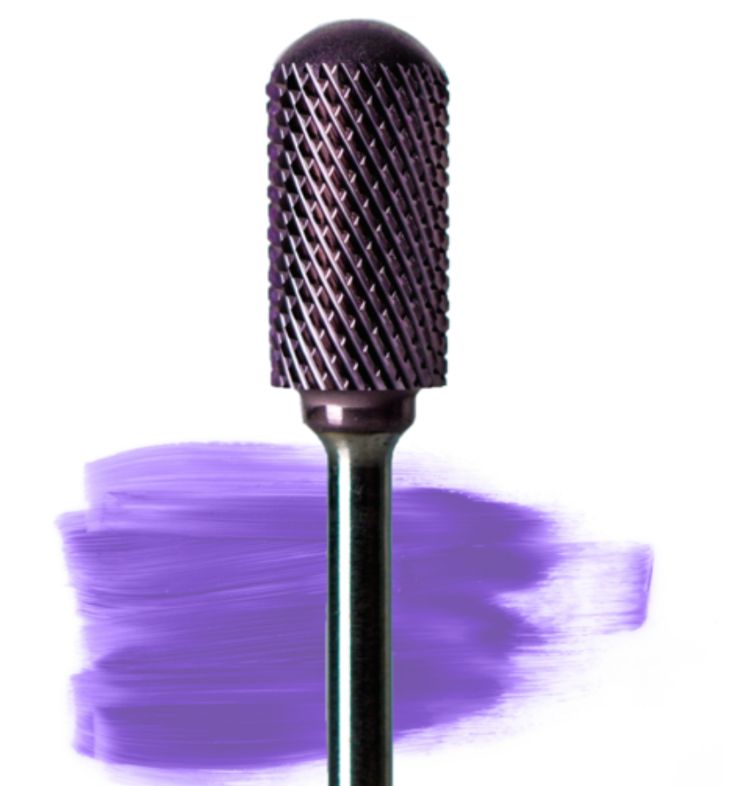
Metal Bits: Metal bits are durable and can be used for a variety of tasks. However, they tend to generate more heat and can cause more wear over time compared to ceramic or diamond bits.
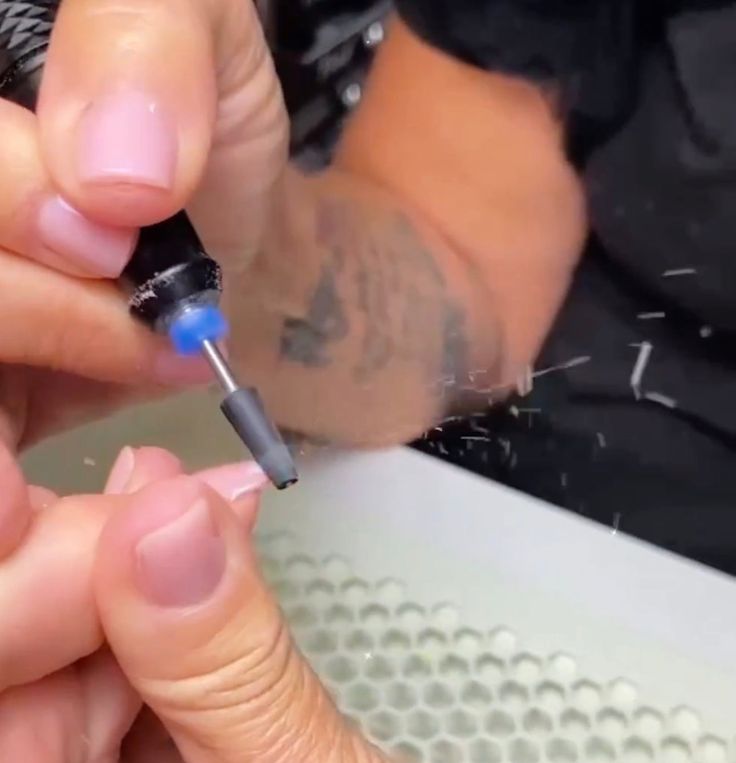
2. Match the Bit to the Task
For General Filing and Shaping: Use sanding bands or coarse carbide bits. They are effective for quickly shaping and smoothing the surface of the nails.
For Cuticle Work: Opt for diamond or ceramic bits. These are gentle enough to work around the cuticles without causing damage or irritation.
For Removing Acrylics or Gels: Choose carbide bits or coarse metal bits. These are designed to handle tougher materials and are efficient in removing acrylic or gel layers.
For Detailed Nail Art: Use fine diamond or ceramic bits. These bits provide precision and control for intricate designs and finishing touches.
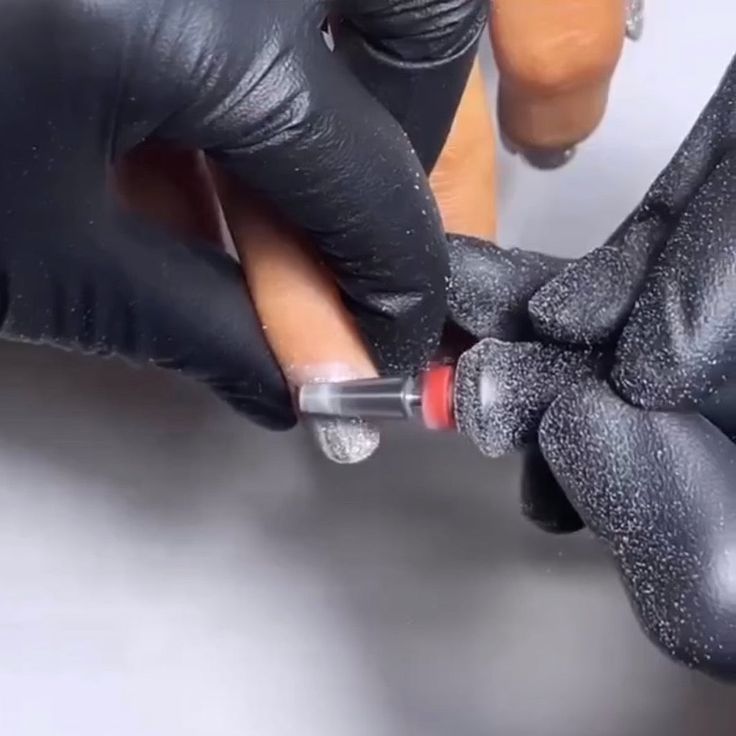
3. Consider Bit Quality and Maintenance
Quality Matters: High-quality drill bits are more durable and perform better. Invest in reputable brands and check for reviews or recommendations to ensure you’re getting a reliable product.
Regular Maintenance: Clean and sanitize your drill bits after each use to prevent infections and prolong their lifespan. Avoid using dull or damaged bits, as they can cause more harm than good.
4. Pay Attention to Size and Grit
Size: Drill bits come in various sizes, and selecting the right size for the task can make a big difference. Smaller bits are suitable for detailed work, while larger bits are better for general filing and shaping.
Grit: The grit of a drill bit determines its coarseness. Higher grit numbers indicate finer, smoother bits, while lower numbers are coarser and more abrasive. Choose the grit based on the task and the type of nail material you are working with.
5. Follow Manufacturer Guidelines
Read Instructions: Always follow the manufacturer’s guidelines for using and maintaining your drill bits. This ensures optimal performance and safety.
Compatibility: Make sure the drill bits you choose are compatible with your nail drill machine. Check the specifications to ensure proper fit and function.
Conclusion
Choosing the right drill bit for your NailDrillMachine is essential for safe and effective nail care. By understanding the different types of bits, matching them to your specific needs, and maintaining them properly, you can achieve beautiful, healthy nails while minimizing the risk of damage. Prioritizing the right tools and techniques will enhance your nail care routine and contribute to long-lasting nail health.