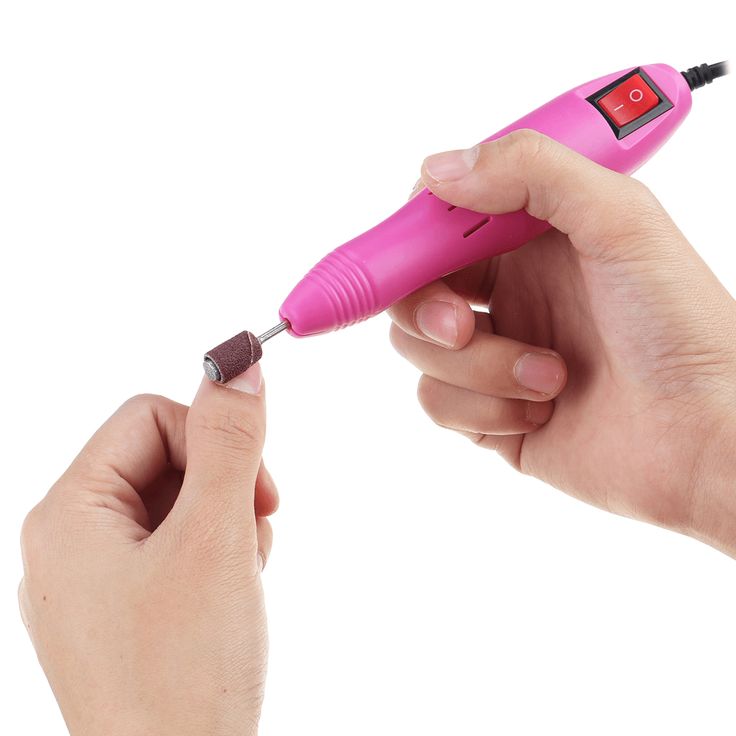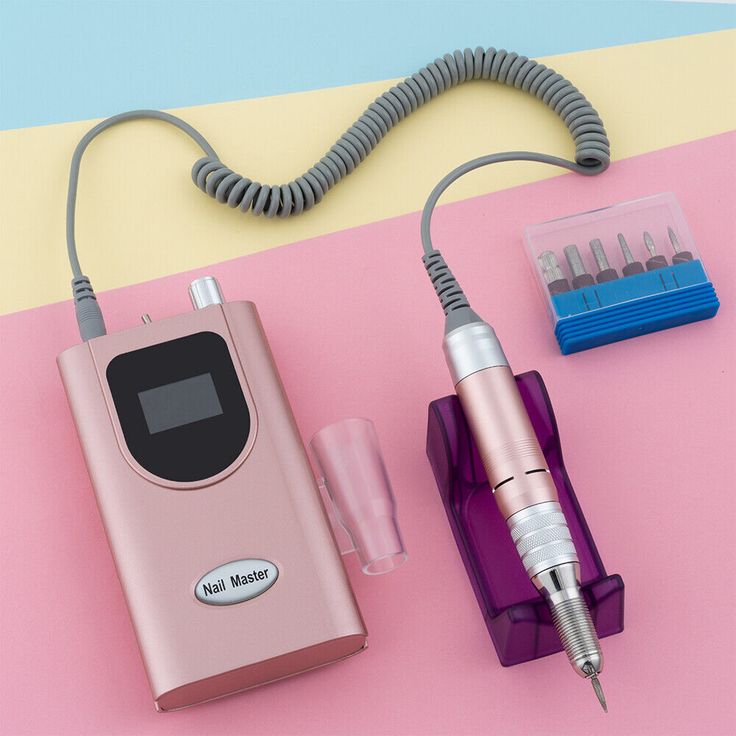
Achieving a salon-quality gel manicure at home is easier than you might think, especially with the help of a NailDrillMachine. This versatile tool not only ensures a smooth application but also helps your gel nails last longer. In this guide, we’ll walk you through the steps to use a nail drill machine for a flawless, long-lasting gel finish.
Q1: Can I use a nail drill machine for gel nail removal?
A: Yes, a nail drill machine is excellent for safely removing gel polish. Use a medium-grit carbide bit to gently file down the gel, then switch to a fine-grit bit for a smooth finish.
Q2: What speed should I use when prepping my nails for gel application?
A: For prepping your nails, keep the speed low to medium (5,000-10,000 RPMs). This ensures you don’t over-file your natural nails while creating a smooth base for gel application.
Q3: How can I prevent lifting of my gel nails?
A: To prevent lifting, ensure your nails are thoroughly dehydrated and cleaned before applying the gel. Using the nail drill to lightly buff the nail surface can also help the gel adhere better.
Q4: How do I maintain my drill bits for gel nails?
A: Clean your drill bits after each use by soaking them in a disinfectant solution. Store them in a dry place to prevent rust and keep them in top condition for your next manicure.
Q5: Is it safe to use a nail drill machine at home?
A: Yes, with proper care and technique, using a nail drill machine at home is safe. Always use the appropriate bits, control the speed, and avoid excessive pressure to protect your natural nails.
1. Start with Clean, Dry Nails
Before applying gel polish, make sure your nails are completely clean and free from oils. Use a non-acetone remover to clean off any previous polish and wash your hands thoroughly. This step is crucial to help the gel adhere better and last longer.
2. Trim and Shape Your Nails
Use a regular nail clipper to trim your nails to the desired length. Shape the edges with a manual file. Once you’re happy with the shape, it’s time to prepare the nail surface using the nail drill machine.
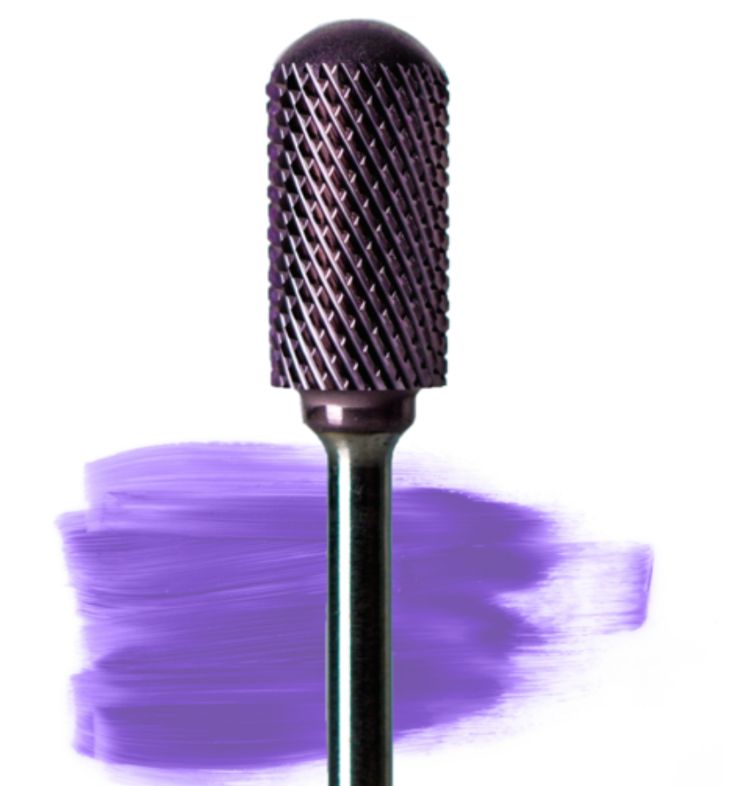
3. Gently Buff the Nail Surface
Attach a fine-grit sanding band to your NailDrillMachine and set the speed to low or medium. Lightly buff the surface of each nail to remove any shine and create a rough surface for the gel to adhere to. Be careful not to over-file, as this can weaken the nail.
4. Push Back Cuticles
Using a cuticle bit or a fine diamond bit, gently push back and clean your cuticles. Removing excess cuticle will give your nails a clean, professional finish and help prevent lifting of the gel polish.
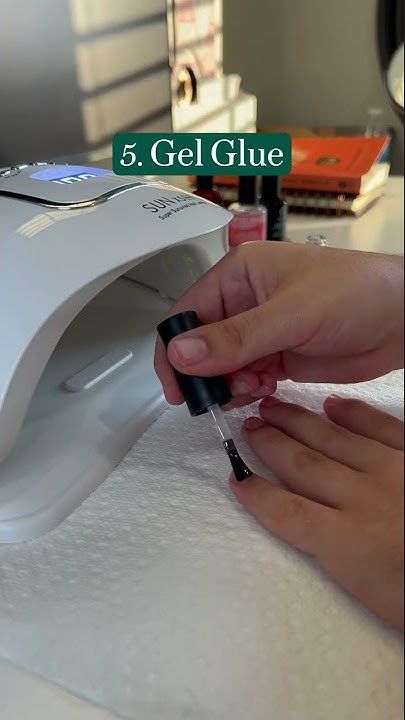
5. Dehydrate the Nails
After buffing, use a nail dehydrator or alcohol to remove any remaining oils or dust from the nail surface. This step ensures that the gel polish adheres firmly, reducing the risk of peeling or lifting.
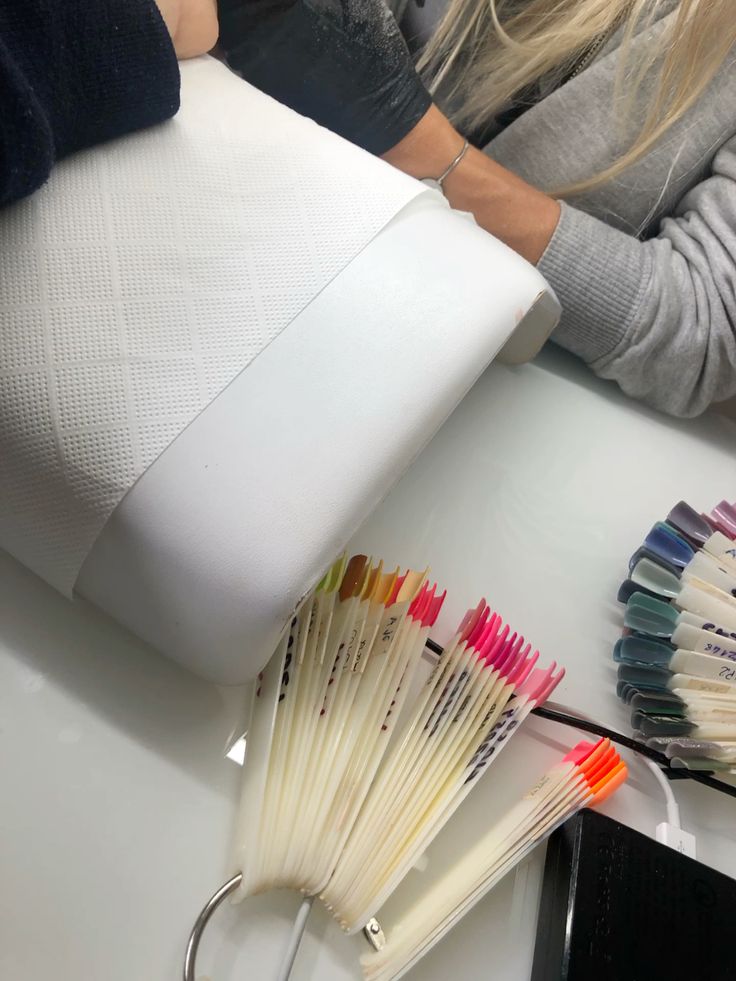
6. Apply a Base Coat
Apply a thin layer of gel base coat to each nail. Cure under a UV or LED lamp according to the manufacturer’s instructions. The base coat is essential for creating a smooth foundation and enhancing the longevity of your gel manicure.
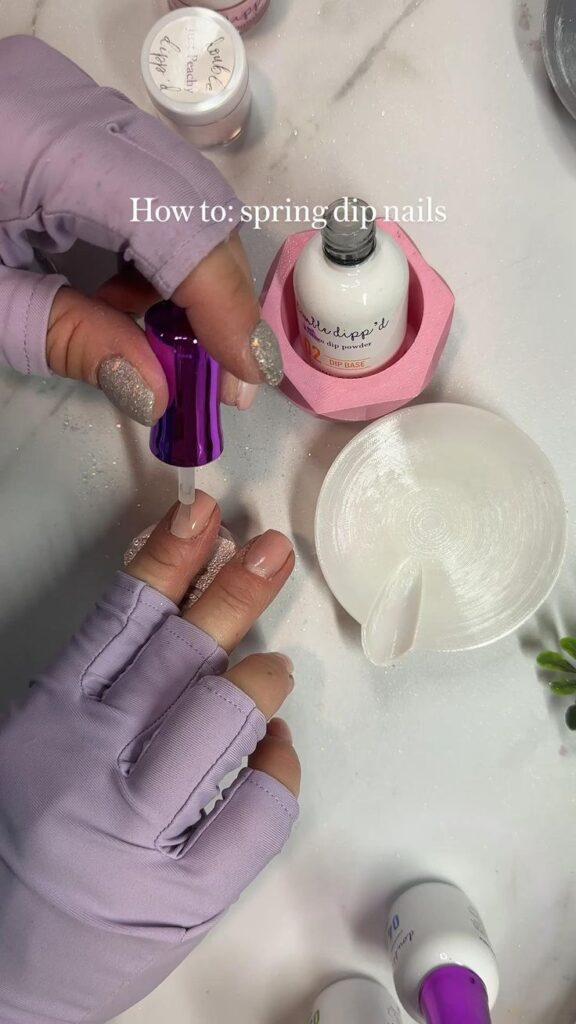
7. Apply the Gel Polish
Apply the first coat of gel polish, ensuring even coverage. Cure under the lamp, and repeat the process with a second coat for a more opaque finish. Make sure to cap the edges of your nails to prevent chipping.
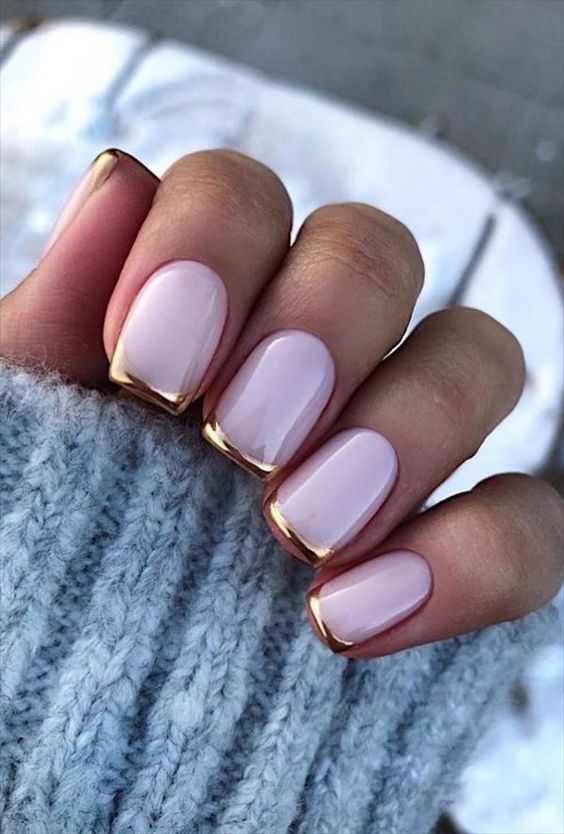
8. Seal with a Top Coat
Once the color coats are cured, apply a gel top coat to seal in the color and add shine. Cure under the lamp for the final time. The top coat not only provides a glossy finish but also protects the gel polish from wear and tear.
9. Finish with Cuticle Oil
After curing the top coat, apply cuticle oil to nourish and hydrate your cuticles. This final step gives your nails a polished, salon-worthy look and helps maintain nail health.
10. Regular Maintenance
To keep your gel nails looking their best, avoid using your nails as tools, and apply cuticle oil daily. When it’s time to remove the gel, use your nail drill machine to gently file down the polish before soaking your nails in acetone.
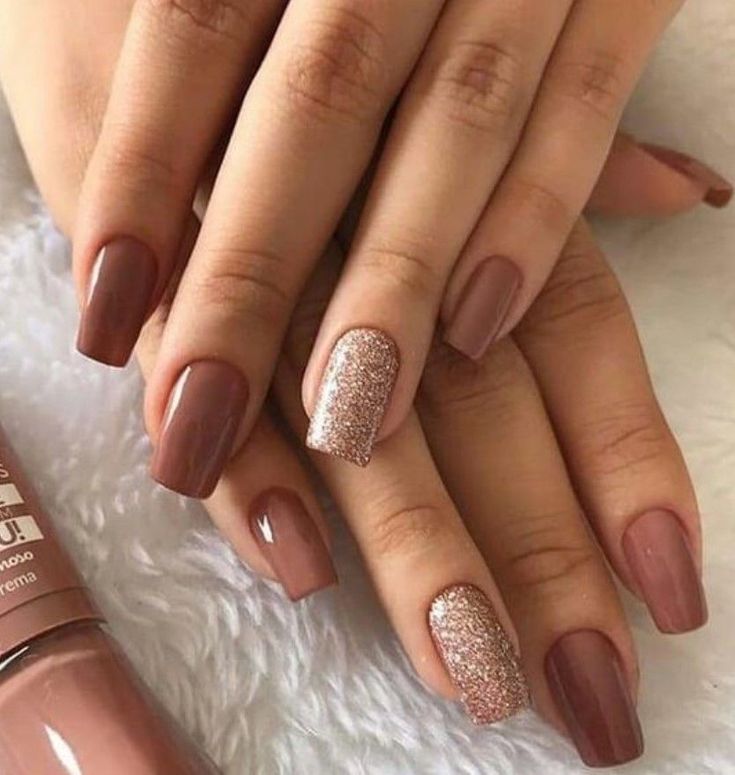
With the right tools and techniques, you can achieve a long-lasting gel manicure at home that rivals salon results. A NailDrillMachine is a game-changer for DIY nail enthusiasts, offering precision, efficiency, and professional-quality results. By following these steps, your gel nails will not only look flawless but also last for weeks.