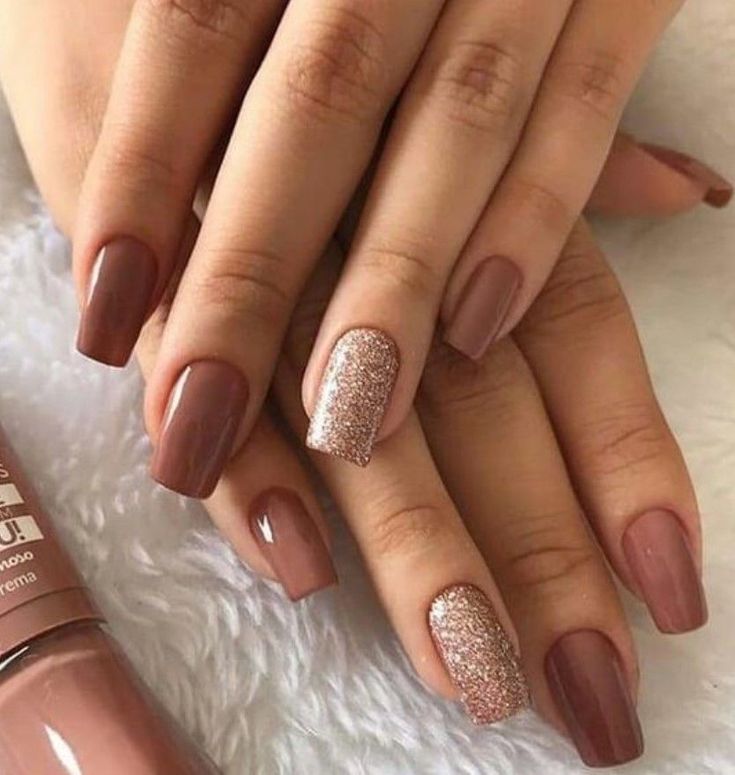
Creating beautiful acrylic nails at home is not only a great way to express your creativity but also a cost-effective way to keep your nails looking fabulous. However, achieving a salon-quality finish requires the right tools and techniques. One of the most important tools for this job is a nail drill machine. In this guide, we will walk you through the steps to use a nail drill machine effectively for a flawless acrylic nail finish.
Why Use a Nail Drill Machine for Acrylic Nails?
A nail drill machine, or e-file, is a versatile tool that can help shape, refine, and perfect acrylic nails. Unlike manual filing, which can be time-consuming and inconsistent, a nail drill allows for precise control and speed, making it easier to achieve a smooth and even finish. Here are some benefits of using a nail drill machine for acrylic nails:
Speed and Efficiency: Nail drills can file and shape nails much faster than manual files.
Precision: You can achieve a more accurate and professional finish with a nail drill.
Versatility: With different drill bits, you can perform various tasks, from removing old acrylic to shaping and finishing the new set.
Step-by-Step Guide to Using a Nail Drill Machine for Acrylic Nails
1. Gather Your Tools and Materials
Before starting, make sure you have all the necessary tools and materials:
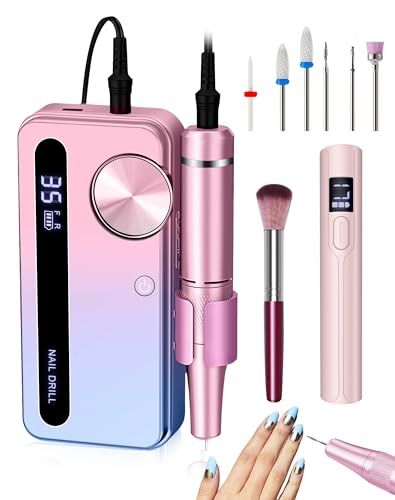
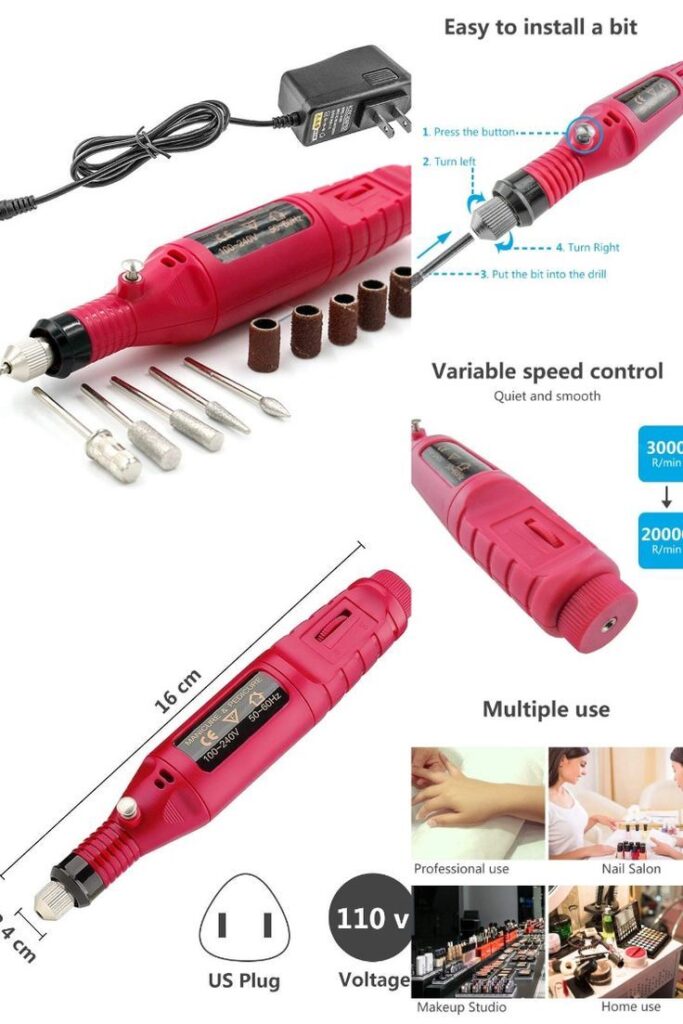
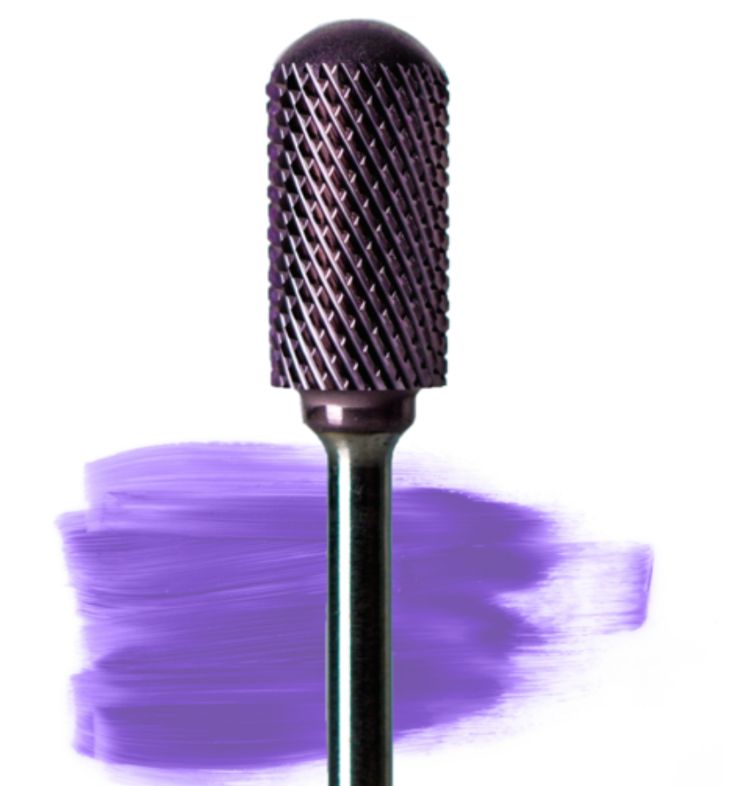
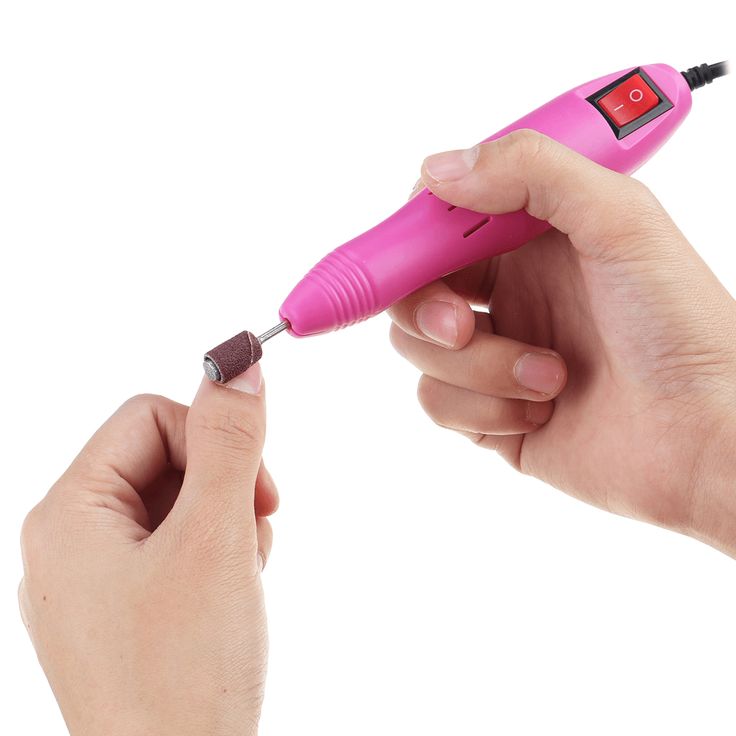
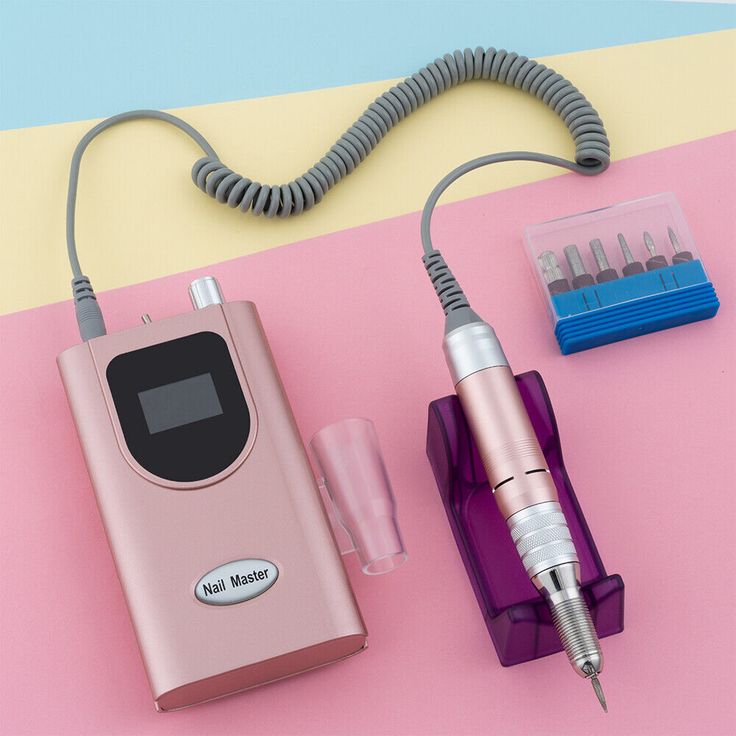
Nail drill machine with a range of bits (sanding bands, carbide bits, etc.)
Acrylic nail kit (including acrylic powder and liquid)
Nail file and buffer
Nail primer and dehydrator
Nail brush
Cuticle pusher and nippers
Lint-free wipes and alcohol or acetone
Top coat and base coat
2. Prep Your Natural Nails
Preparation is key to ensuring your acrylic nails adhere properly and look flawless:
Clean and Sanitize: Start by washing your hands and sanitizing your tools to maintain hygiene.
Push Back Cuticles: Use a cuticle pusher to gently push back your cuticles. This step ensures a clean nail bed and helps prevent lifting.
Buff the Natural Nail Surface: Lightly buff the surface of your natural nails with a nail file or a low-grit sanding band on the nail drill. This creates a slightly rough surface for better acrylic adhesion.
3. Apply Nail Primer and Dehydrator
Dehydrate the Nails: Apply a nail dehydrator to remove any natural oils. This step is crucial to prevent lifting.
Apply Primer: Apply a thin layer of primer to each nail. This helps the acrylic adhere better to your natural nails.
4. Apply the Acrylic Nails
Prepare Your Acrylic Mixture: Dip your brush into the acrylic liquid and then into the acrylic powder to create a small bead.
Apply Acrylic to Nails: Start at the center of the nail near the cuticle and work your way to the tip, using smooth, even strokes. Make sure to apply the acrylic evenly to avoid bumps or ridges.
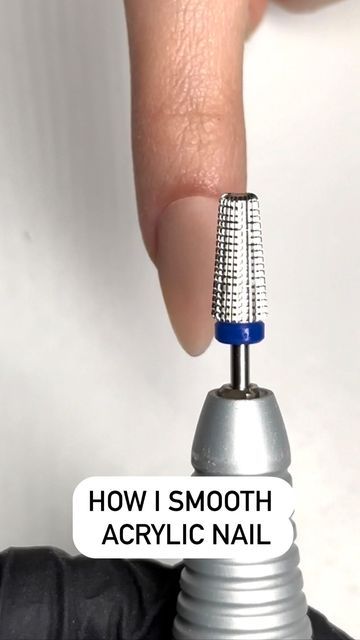
5. Shape and Smooth the Acrylic with the Nail Drill
Once the acrylic has fully cured, it’s time to shape and smooth the nails using the nail drill machine:
Select the Right Bit: Use a medium-grit carbide bit for shaping and refining the acrylic. For beginners, starting with a lower speed is advisable to maintain control.
Shape the Nails: Gently run the drill bit over the surface of the acrylic, following the natural curve of your nail. Focus on creating a smooth, even surface and refining the shape of the nail’s free edge.
Smooth the Surface: Switch to a fine-grit bit to smooth the surface of the acrylic, removing any ridges or imperfections. This step is essential for a flawless, professional finish.
6. Buff and Shine
Buff the Nails: Use a buffing block or a buffing bit on your drill to gently buff the nails, creating a smooth, even surface.
Polish for Shine: For a high-shine finish, use a nail buffer or a buffing bit designed for shine to bring out the gloss in your acrylic nails.
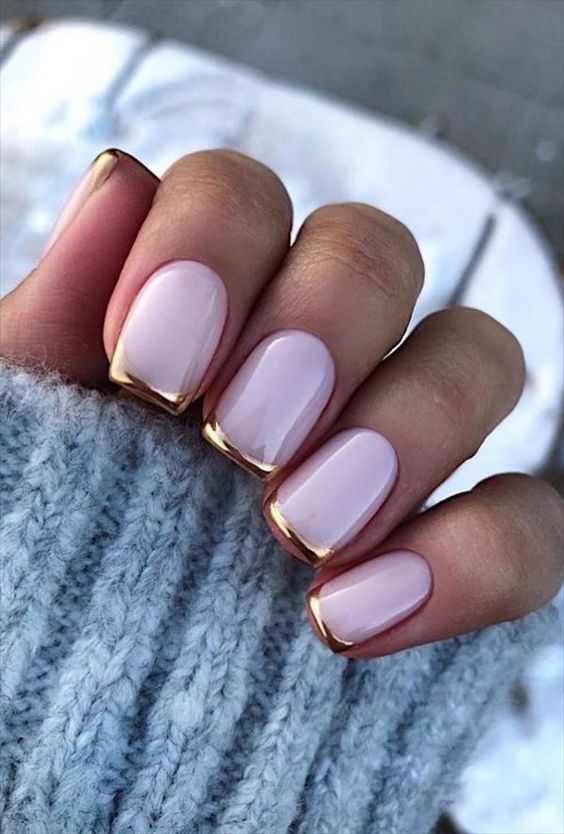
7. Finish with Top Coat
Apply Top Coat: Once you are satisfied with the shape and smoothness of your nails, apply a top coat to seal and protect your acrylic nails. This will also add extra shine and durability.
Tips for Using a Nail Drill Machine Safely
Start Slow: Begin with a low speed and gradually increase as you become more comfortable using the drill.
Keep It Moving: Always keep the drill bit moving to avoid creating friction and heat, which can damage both the nail and skin.
Use Proper Ventilation: When working with acrylics and a nail drill, ensure you are in a well-ventilated area to avoid inhaling dust and fumes.
Clean Your Bits: After each use, clean your drill bits with alcohol or an appropriate disinfectant to maintain hygiene and performance.
FAQs: DIY Acrylic Nails with a Nail Drill Machine
Q1: How do I choose the right nail drill machine for acrylic nails? A1: Look for a drill with adjustable speed settings and a comfortable grip. Higher RPMs (20,000 to 35,000) are ideal for working with acrylics, but ensure it has a range that includes lower speeds for versatility.
Q2: Can beginners use a nail drill machine for acrylic nails? A2: Yes, beginners can use a nail drill machine, but it’s important to start with low speeds and simple tasks, like shaping, before progressing to more advanced techniques like smoothing and finishing.
Q3: How do I prevent my acrylic nails from lifting? A3: Proper nail prep is crucial to preventing lifting. Ensure your nails are clean, dehydrated, and primed before applying acrylic. Also, avoid overfilling and keep the acrylic away from the cuticles and sidewalls.
Q4: How often should I clean my nail drill bits? A4: Clean your nail drill bits after each use to prevent the buildup of acrylic and dust. Regular cleaning also ensures the longevity of your bits and the drill’s effectiveness.
Q5: What should I do if my nail drill overheats? A5: If your nail drill overheats, stop using it immediately and allow it to cool down. Overheating can occur from prolonged use at high speeds or excessive pressure. Always take breaks and use the appropriate speed and pressure to avoid overheating.
Conclusion
Using a nail drill machine for acrylic nails can significantly enhance the quality of your DIY manicures, giving you salon-quality results at home. By following the steps outlined in this guide, you can master the art of using a nail drill and achieve a flawless finish every time. Remember to practice regularly, prioritize safety, and maintain your tools for the best results. Enjoy your perfect, polished acrylic nails!