Maintaining beautiful and healthy nails doesn’t always require a trip to the salon. With a NailDrillMachine, you can easily take care of your nails at home, saving time and money while achieving salon-quality results. This guide will walk you through a simple at-home nail care routine using a nail drill machine, perfect for beginners and seasoned nail enthusiasts alike.
Q1: Is a nail drill machine safe to use at home?
A: Yes, a nail drill machine is safe for at-home use if you follow proper guidelines. Start with low speeds, use the appropriate bits, and always keep the drill moving to avoid overheating.
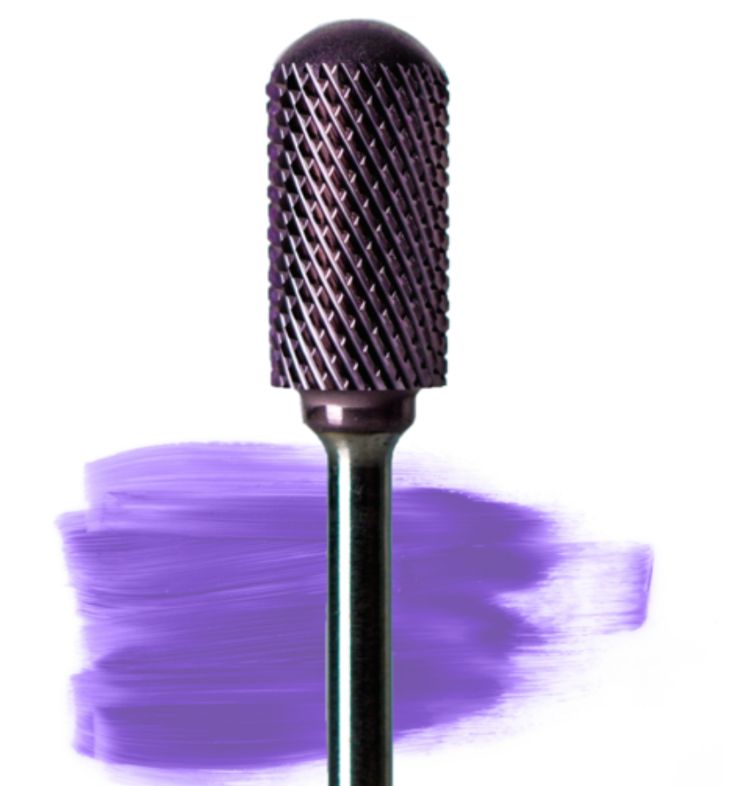
Q2: What drill bit should I use for natural nails?
A: For natural nails, use a fine-grit sanding band or a soft buffer bit. These are gentle and effective for smoothing and shaping without causing damage.
Q3: How often should I use my nail drill machine?
A: It’s best to use your nail drill machine every two to three weeks, depending on the growth and condition of your nails. Regular use helps maintain shape and smoothness.
Q4: Can I remove gel polish with a nail drill machine?
A: Yes, a nail drill machine is excellent for removing gel polish. Use a medium-grit carbide bit to gently remove the gel layer, then finish with a fine-grit bit to smooth the surface.
Q5: How do I clean my nail drill machine?
A: Clean your drill bits after each use by soaking them in a disinfectant solution. Wipe down the machine with a clean cloth and store it in a dry place.
1. Start with Clean Nails
Begin by removing any old polish or gel using a non-acetone remover, which is gentler on your nails. Wash your hands thoroughly to eliminate any residue, and pat them dry.
2. Trim and File Your Nails
Use a regular nail clipper to trim your nails to your desired length. Follow up with a manual file to shape the edges. This initial step ensures that your nails are neatly shaped before you start using the nail drill.
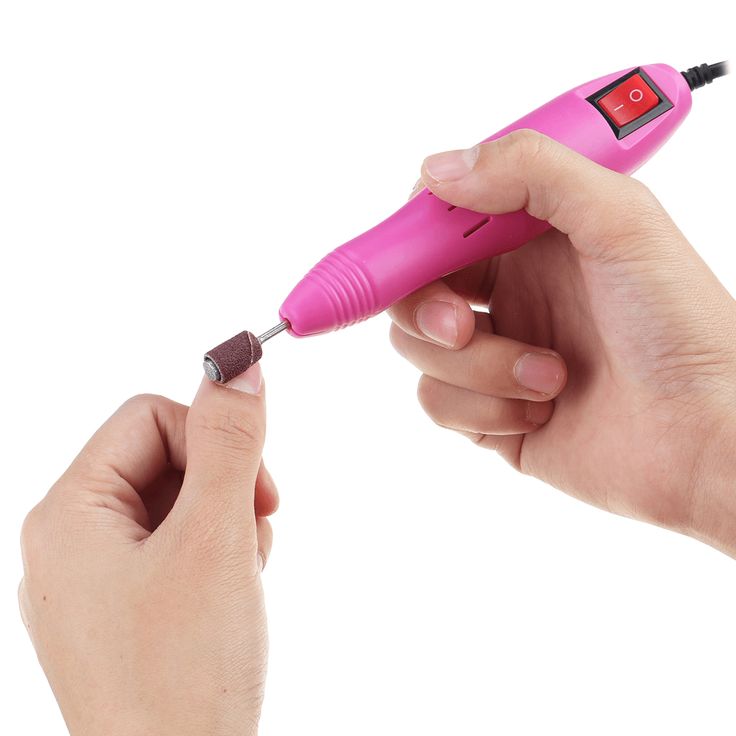
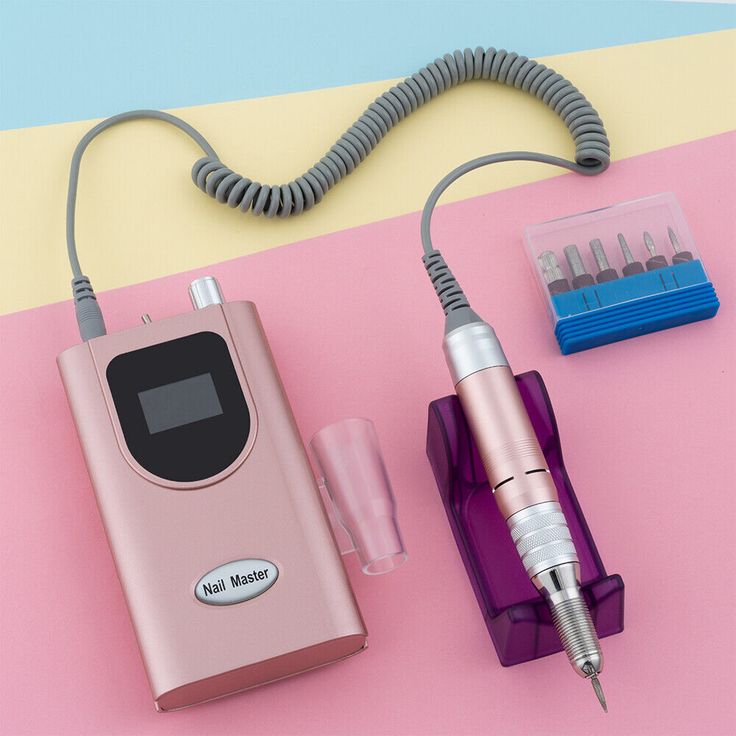
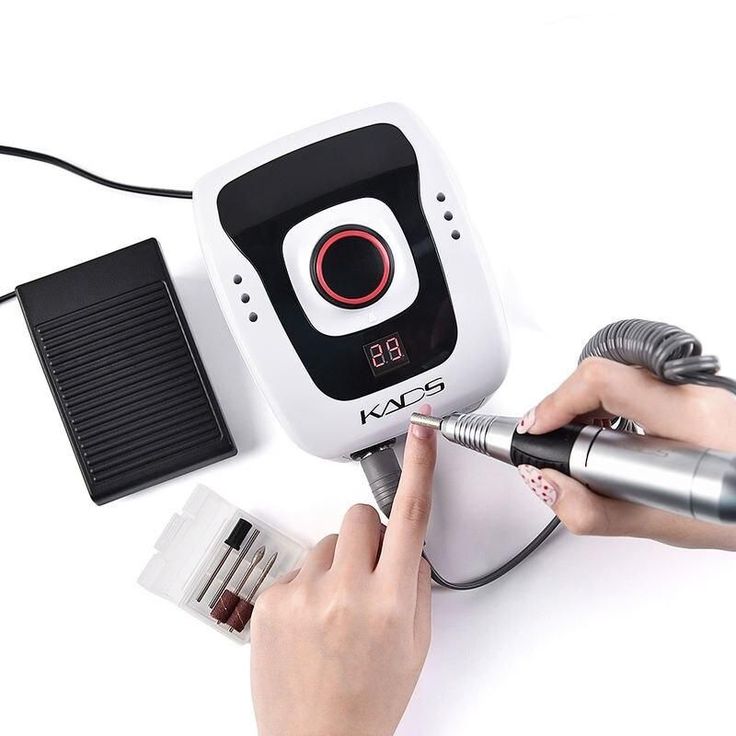
3. Select the Right Drill Bit
Choose a fine-grit sanding band for general filing or a soft buffer bit for natural nails. Attach the bit to your NailDrillMachine and set the speed to a low or medium setting, depending on your comfort level.
4. Shape and Smooth Your Nails
Hold the drill like a pencil and gently move it along the edges of your nails to refine the shape. Use smooth, even strokes to avoid uneven filing. For smoothing the nail surface, lightly glide the drill bit over the top of each nail, focusing on any ridges or uneven areas.
5. Push Back and Clean Cuticles
Switch to a cuticle bit or a fine diamond bit, and carefully push back your cuticles. This helps to create a clean base for polish or gel application. Be gentle around the cuticle area to avoid irritation.
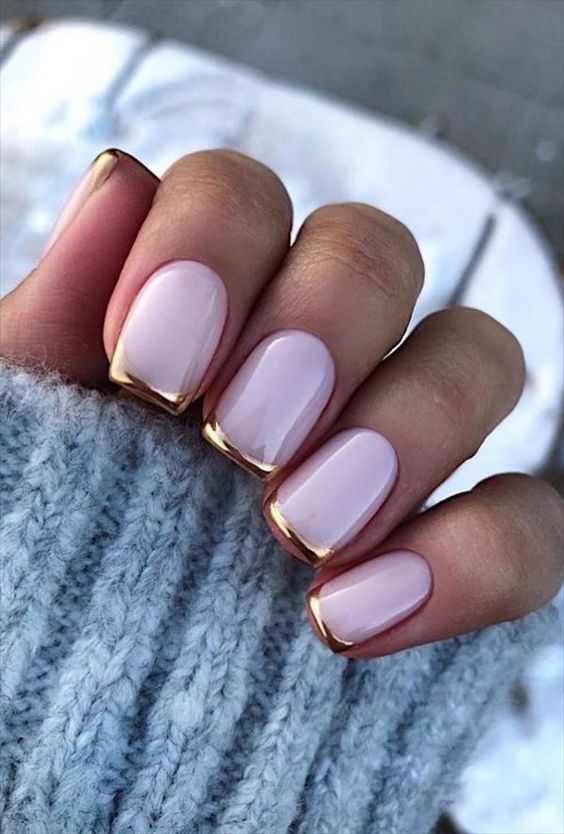
6. Buff and Shine
For a natural, glossy finish, use a soft buffer bit to buff the nails. This will give them a smooth, shiny appearance, perfect for a natural look or as a base for polish.
7. Moisturize Your Nails and Cuticles
After buffing, apply cuticle oil to nourish and moisturize your nails and cuticles. Massage the oil in, and follow up with a hydrating hand cream to keep your hands soft and smooth.

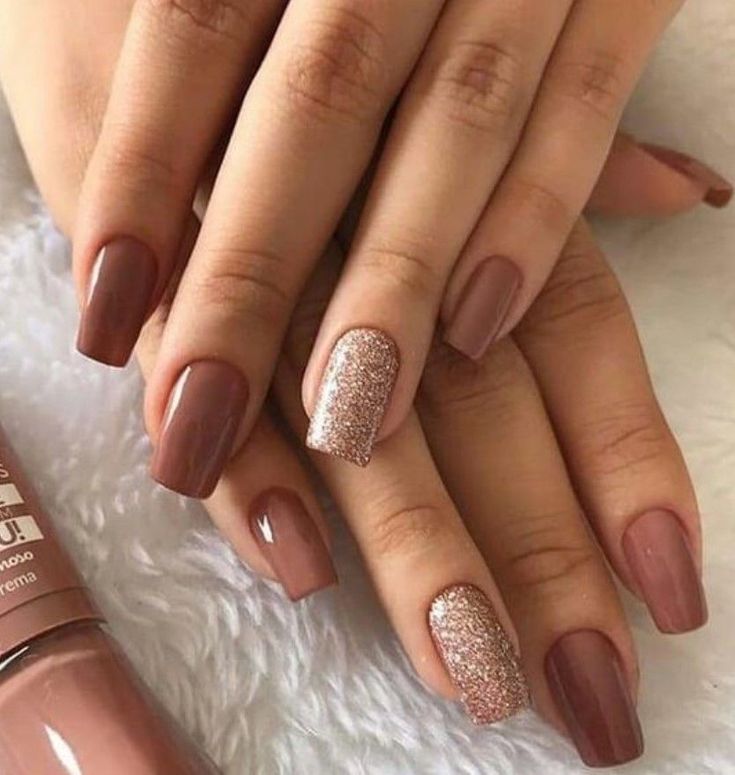
8. Apply Polish or Leave Natural
If you prefer polished nails, apply a base coat, followed by two coats of your chosen color, and finish with a top coat. If you prefer a natural look, simply enjoy the glossy finish from buffing and the healthy shine from the cuticle oil.
9. Regular Maintenance
To maintain healthy nails, repeat this routine every two to three weeks. Regular use of the NailDrillMachine will help keep your nails in top condition, allowing you to easily manage length, shape, and smoothness at home.
With the right tools and techniques, achieving beautiful, salon-quality nails at home is easy and enjoyable. This simple routine using a NailDrillMachine is designed to keep your nails looking their best without the need for frequent salon visits. Regular practice will make you proficient in using the drill, allowing you to maintain your nails effortlessly.