Maintaining the cleanliness of your nail drill machine is crucial for ensuring its longevity, performance, and hygiene. Regular cleaning and disinfection prevent the buildup of dust, debris, and bacteria, which can cause damage to the machine and pose health risks. Here’s a step-by-step guide on how to properly clean and disinfect your nail drill machine.
Q1: How often should I clean my nail drill machine?
A: It’s recommended to clean your nail drill machine after each use to remove dust and debris. For disinfection, aim for at least once a week, or more frequently if the machine is used regularly.
Q2: Can I use water to clean my nail drill machine?
A: No, avoid using water on the machine itself, as it can cause damage to the electrical components. Instead, use a dry brush or cloth to remove dust, and disinfectant wipes or sprays for cleaning.
Q3: What type of disinfectant should I use?
A: Use an EPA-approved disinfectant or isopropyl alcohol (70% or higher) to sanitize the machine and its parts. Make sure the disinfectant is safe for use on metal and plastic components.
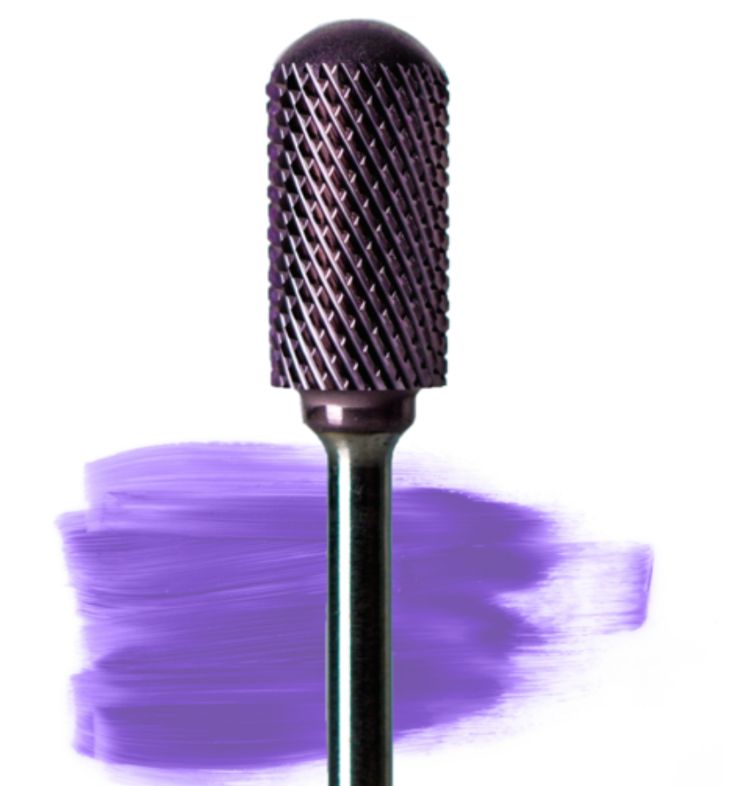
Q4: How do I clean the drill bits?
A: Drill bits should be cleaned and disinfected separately. Remove any debris with a brush, soak them in a disinfectant solution, and allow them to air dry before storing.
Q5: Can I use compressed air to clean my nail drill machine?
A: Yes, compressed air is an effective way to blow out dust and debris from the vents and crevices of the machine. Just make sure to do this in a well-ventilated area.
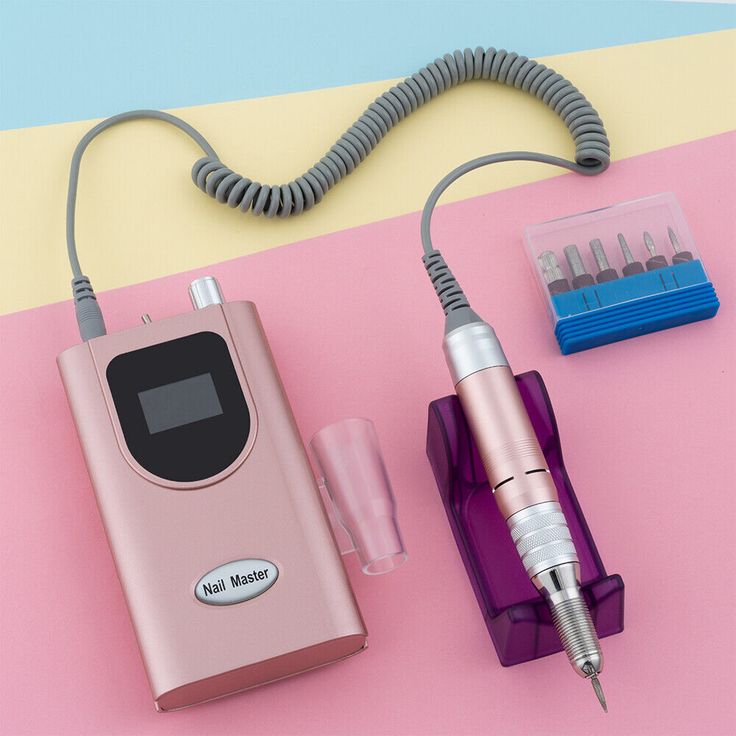
Before you start, make sure you have the following supplies on hand:
Always ensure your nail drill machine is turned off and unplugged before you begin cleaning. This step is crucial to avoid any risk of electric shock or damage to the machine.
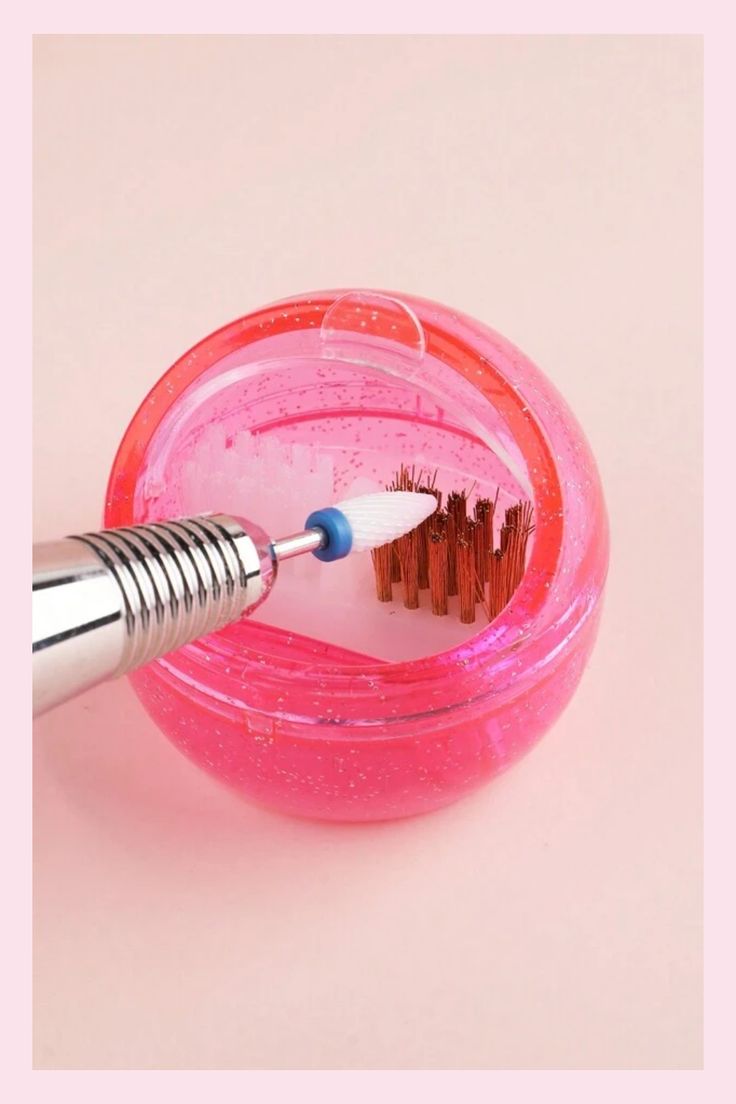
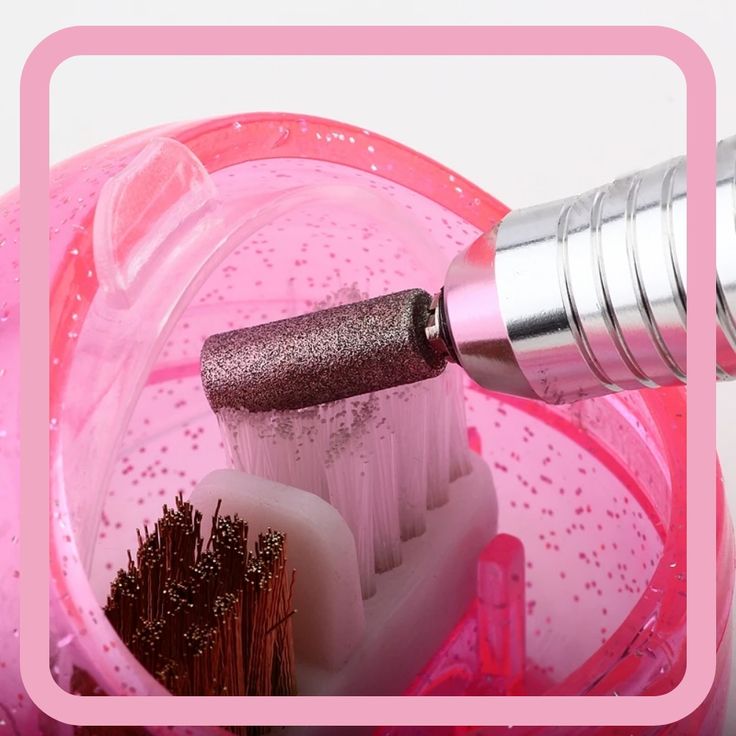
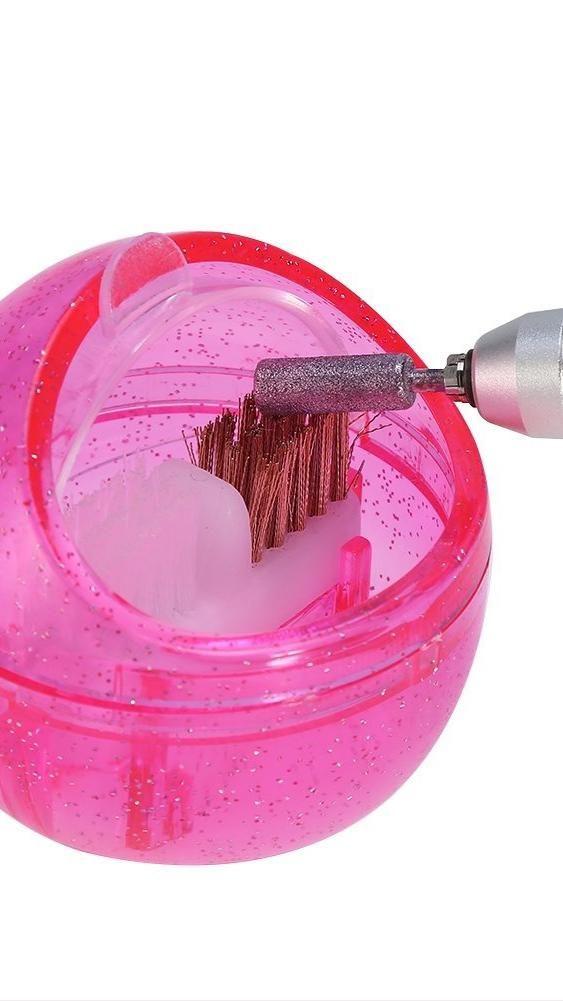
Detach the drill bits from the machine and set them aside. Use a soft brush or toothbrush to remove any dust, nail particles, or debris from the bits. For thorough disinfection, soak the bits in a solution of isopropyl alcohol or an EPA-approved disinfectant for about 10 minutes. After soaking, rinse them with water (if the disinfectant allows it), dry them completely, and store them in a clean container.
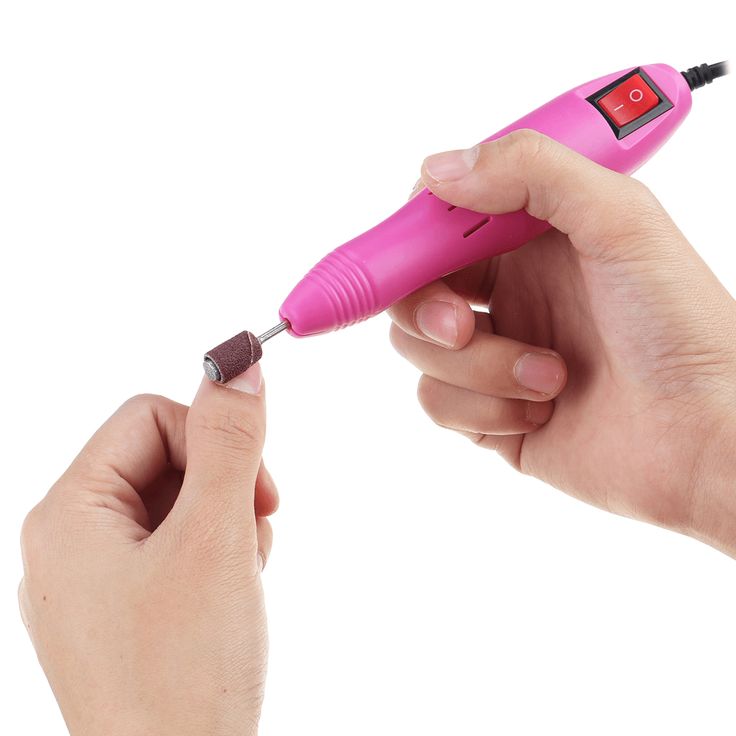
The handpiece of the nail drill machine often accumulates dust and nail residue. Use a dry brush or cloth to gently wipe away any visible debris. For deeper cleaning, use a disinfectant wipe to clean the surface, making sure to reach all the crevices. Avoid getting any liquid inside the handpiece, as this can damage the internal components.
The collet and chuck are crucial parts of your nail drill machine that hold the drill bits in place. These parts should be regularly disinfected to maintain hygiene. Use a cotton swab dipped in isopropyl alcohol to clean the inside of the collet and chuck. Make sure to remove any residue that may have built up inside.
Ventilation ports help keep your nail drill machine cool during use, but they can easily become clogged with dust and debris. Use compressed air to blow out any particles from the vents, or use a brush to clean them. Keeping the vents clear helps prevent overheating and extends the life of your machine.
The power cord can also collect dust and debris over time. Use a disinfectant wipe or a cloth dampened with isopropyl alcohol to clean the cord. Be sure to dry it completely before plugging the machine back in.
After cleaning all the individual parts, give the entire machine a final wipe-down with a disinfectant wipe or a cloth dampened with isopropyl alcohol. Pay extra attention to any areas that may have been missed in earlier steps. Once everything is clean, inspect the machine for any signs of wear or damage that might need attention.
Before using your nail drill machine again, ensure that all components are completely dry. Moisture can damage the internal electronics or lead to bacterial growth, so this step is crucial.
Once all parts are dry, reassemble your nail drill machine. Store the machine and its components in a clean, dry place away from direct sunlight and dust. Proper storage will help keep your machine in top condition between uses.
Regular cleaning and disinfection of your nail drill machine are essential for maintaining its performance, safety, and hygiene. By following these steps, you’ll not only extend the life of your machine but also ensure that it remains a reliable tool for your nail care needs.