
Achieving salon-quality manicures at home has never been easier, thanks to the NailDrillMachine. This versatile tool allows you to shape, buff, and smooth your nails with precision. However, mastering the use of a nail drill requires practice and the right techniques to ensure both safety and stunning results. In this guide, we’ll walk you through the essential steps to using a nail drill machine for DIY manicures.
Q1: Is a nail drill machine suitable for beginners?
A: Yes, with the right guidance and practice, beginners can use a nail drill machine effectively. Start with lower speeds and work your way up as you become more comfortable.
Q2: What speed should I use for natural nails?
A: For natural nails, it’s best to use a low speed, typically between 5,000 and 10,000 RPMs, to avoid over-filing or damaging the nail plate.
Q3: Can I use a nail drill machine on gel nails?
A: Yes, a nail drill machine is ideal for shaping and removing gel nails. Use the appropriate drill bit and speed setting to avoid damaging the underlying natural nail.
Q4: How do I clean and maintain my nail drill machine?
A: Regularly clean the bits with a disinfectant, and ensure the machine is stored in a cool, dry place. Replace worn-out bits to maintain efficiency and safety.
Q5: What should I do if I accidentally over-file my nails?
A: If you over-file, stop using the drill and allow your nails to recover. Apply a strengthening treatment and avoid further filing until the nail has healed.

1. Prepare Your Nails
Start by cleaning your nails thoroughly. Remove any old polish with a non-acetone remover, as acetone can dry out your nails and cuticles. Trim your nails to your desired length and shape them using a manual file before proceeding with the drill. This will help you maintain control during the drilling process.
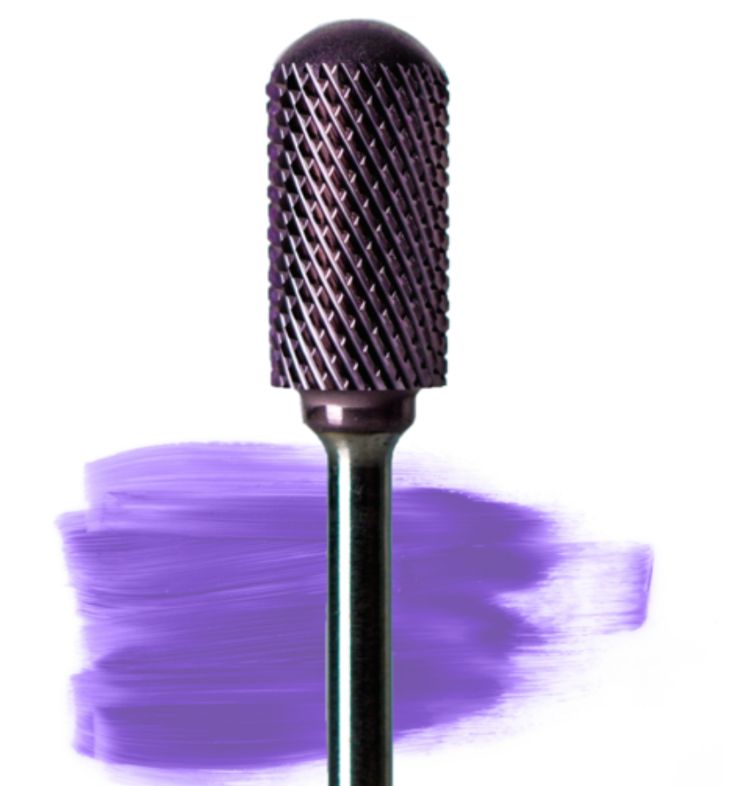
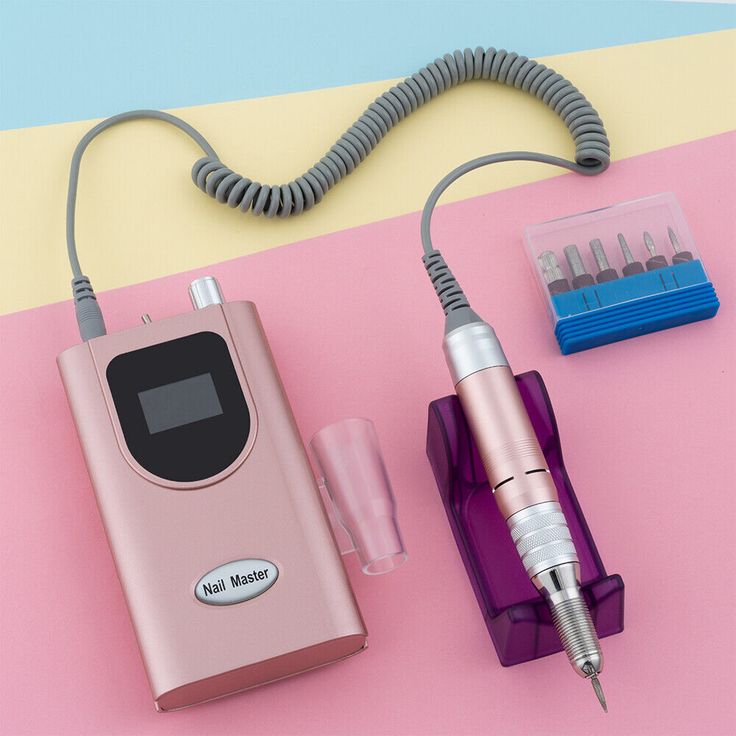
2. Choose the Right Drill Bit
Selecting the correct drill bit is essential for achieving the best results. For beginners, a fine grit sanding band is recommended for smoothing and shaping. If you’re working on removing gel polish or acrylics, use a medium to coarse carbide bit. Remember, finer bits are best for natural nails, while coarser bits are suitable for artificial enhancements.
3. Set the Speed
Always start with a low speed setting, especially if you’re new to using a nail drill machine. For natural nails, a speed between 5,000 and 10,000 RPMs is ideal. You can increase the speed as you gain confidence, but avoid going too fast, as it can cause burns or damage to the nails.
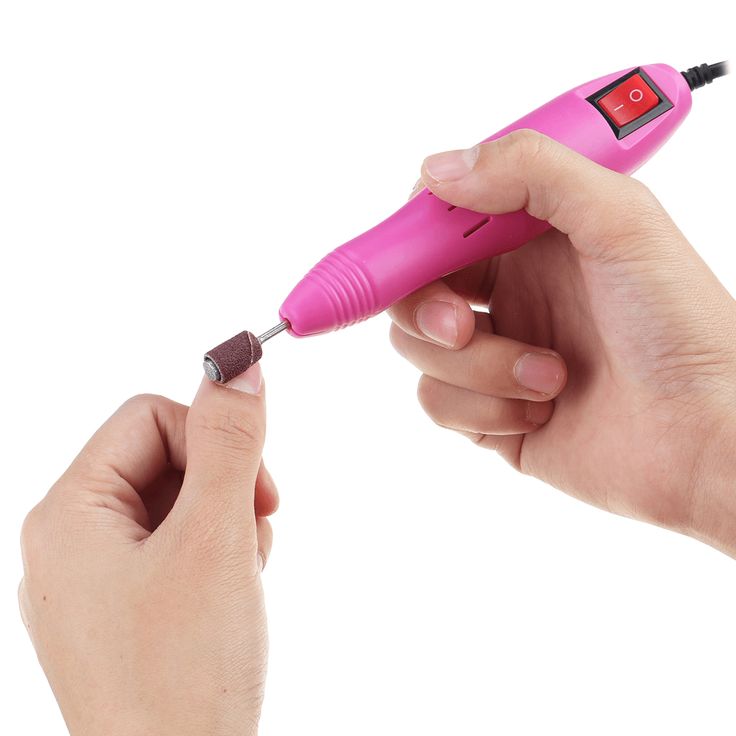
4. Begin with Shaping and Filing
Hold the drill like a pencil, with a firm yet relaxed grip. Start shaping your nails by moving the drill in short, controlled strokes along the edge of the nail. Keep the drill bit parallel to the nail surface to avoid creating ridges or uneven spots. Remember to keep the drill moving at all times to prevent overheating and over-filing.
5. Smooth the Nail Surface
After shaping, switch to a finer bit or sanding band to smooth the surface of the nail. This step is particularly important if you’re preparing your nails for polish or gel application. Gently glide the bit over the nail surface, focusing on any ridges or uneven areas. This will create a smooth, even base for your manicure.
6. Buff and Polish
For a natural shine, finish your manicure by buffing the nails with a soft buffer bit. This will give your nails a healthy, glossy finish without the need for polish. If you’re applying polish or gel, this step will help the product adhere better and last longer.
7. Clean Up and Moisturize
Once you’ve finished using the nail drill, clean your nails thoroughly to remove any dust or debris. Wash your hands and apply a nourishing cuticle oil to moisturize your nails and cuticles. Follow up with a hydrating hand cream to keep your hands soft and smooth.

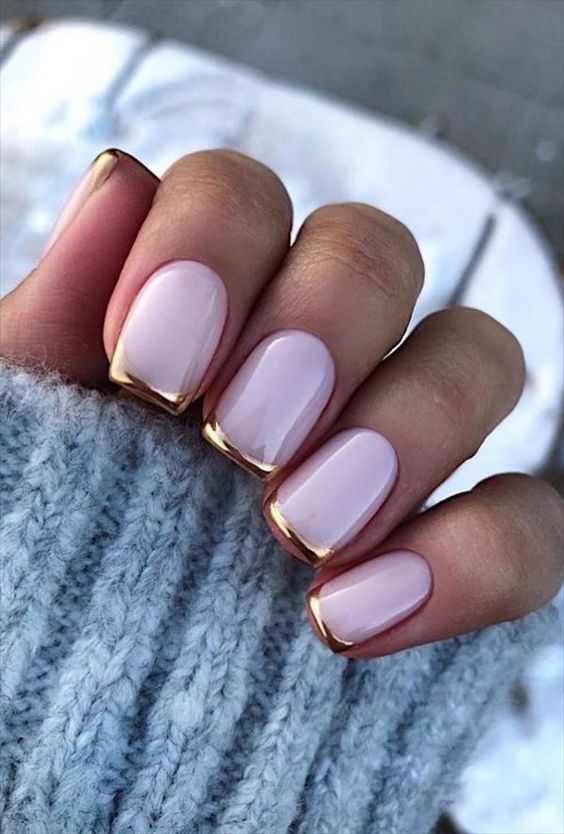
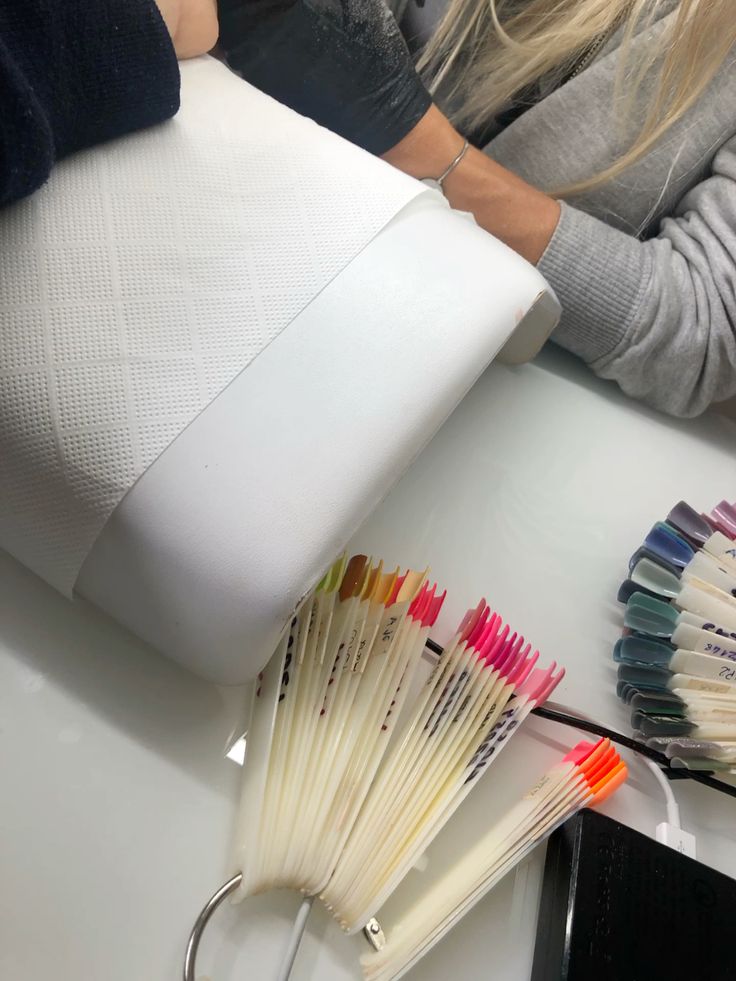
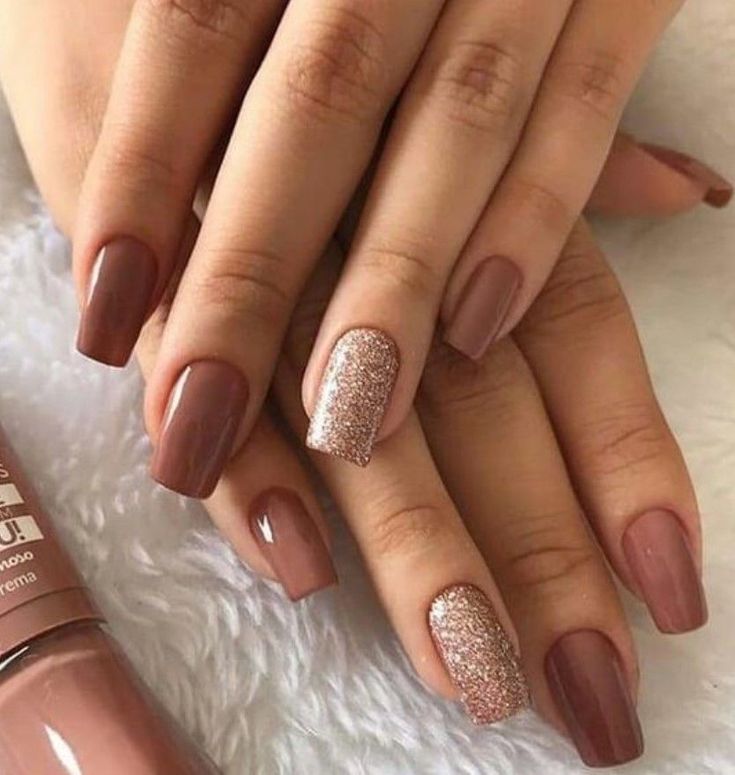
8. Apply Your Polish or Gel
If you’re applying nail polish or gel, make sure your nails are clean and dry. Apply a base coat, followed by two coats of your chosen color, and finish with a top coat for added shine and durability. If you’re using gel polish, cure each layer under a UV or LED lamp according to the manufacturer’s instructions.
9. Regular Maintenance
To keep your nails healthy and strong, it’s important to maintain them regularly. Use your nail drill machine every few weeks to keep your nails in shape and remove any buildup of old polish or gel. Always sanitize your drill bits after each use and replace them when they show signs of wear.
10. Practice Makes Perfect
Using a nail drill machine effectively takes time and practice. Start with simple tasks like shaping and smoothing, and gradually work your way up to more complex techniques like cuticle care or gel removal. With consistent practice, you’ll be able to achieve professional-quality manicures from the comfort of your home.
Using a NailDrillMachine for DIY manicures can save you time and money while allowing you to achieve stunning results at home. By following these steps and practicing regularly, you’ll master the art of nail drilling and enjoy beautiful, healthy nails. Remember to prioritize safety, use the appropriate tools, and take your time to ensure the best results.