Nail drill machines have become indispensable tools for both professional nail technicians and at-home enthusiasts. When used correctly, these devices can help you achieve salon-quality nails with precision and efficiency. However, mastering a nail drill requires practice and an understanding of various techniques to ensure safe and effective results. To help you elevate your nail game, we’ve gathered insights from industry leaders on the top nail drill techniques. Whether you’re a beginner or looking to refine your skills, these tips will guide you toward flawless nails.
Why It Matters:
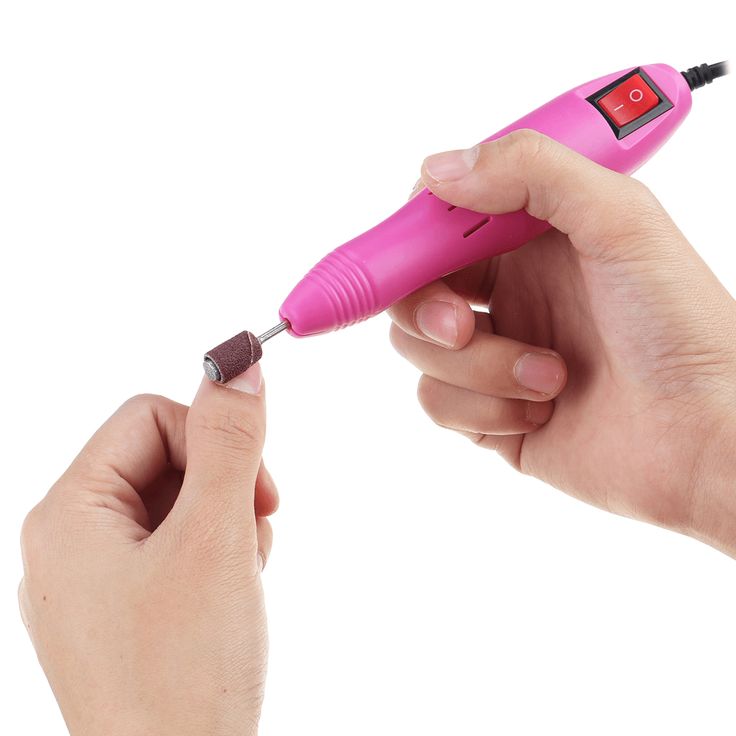
Before diving into specific techniques, it’s essential to understand the importance of holding the nail drill correctly and maintaining good posture. A proper grip ensures control and accuracy, while good posture reduces the risk of strain or injury over time.
Technique Tips:
Why It Matters:
One of the most critical aspects of using a nail drill is mastering speed control. Different techniques and materials require different speeds, and understanding how to adjust the speed will help you avoid over-filing or damaging the nail.
Technique Tips:
Why It Matters:
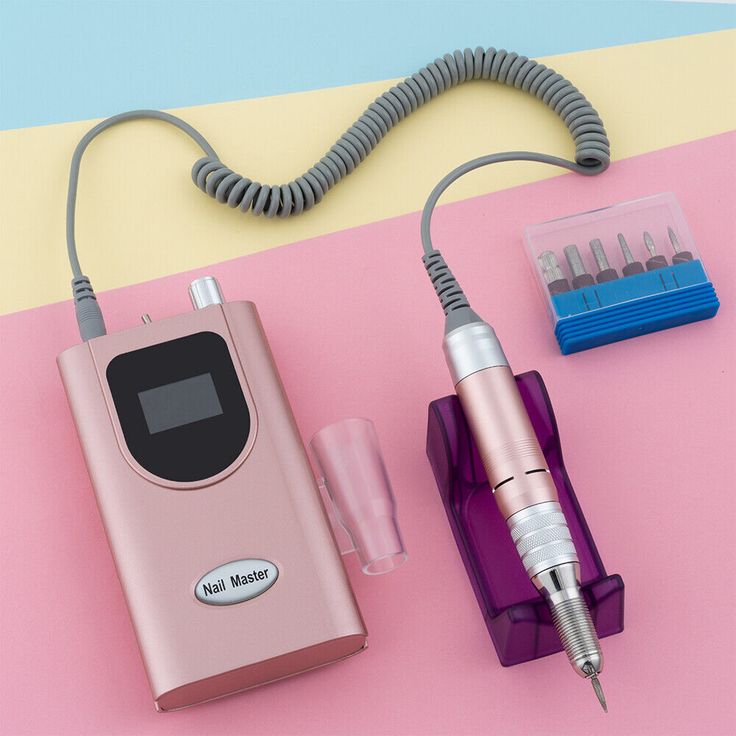
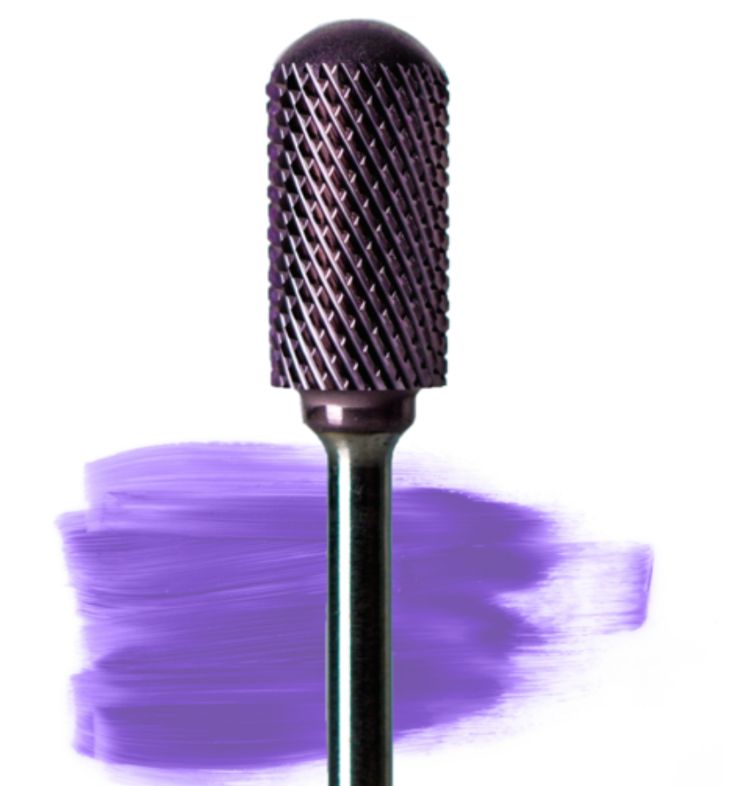
Nail drill bits come in various shapes, sizes, and materials, each designed for specific tasks. Choosing the right bit for the job ensures that you achieve the desired result without damaging the nails.
Technique Tips:

Why It Matters:
Cuticle work requires a delicate touch, and using a nail drill for this purpose can be challenging. However, when done correctly, it can create a clean, professional look that is difficult to achieve with manual tools.
Technique Tips:
Why It Matters:
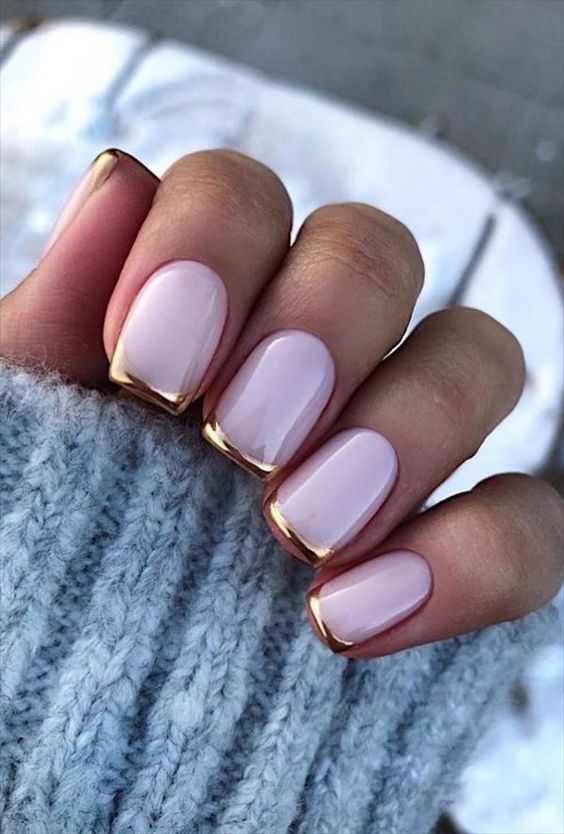
Achieving the perfect nail shape—whether almond, square, or stiletto—requires precision and a steady hand. Using a nail drill can help you refine shapes more efficiently than manual filing.
Technique Tips:
Why It Matters:
Removing gel polish can be time-consuming if done manually. A nail drill speeds up the process, but it requires the right technique to avoid damaging the natural nail underneath.
Technique Tips:
Why It Matters:
The final steps of any nail service—buffing and finishing—are crucial for achieving a smooth, polished look. A nail drill can help create a flawless finish that’s difficult to achieve with a manual buffer.
Technique Tips:

Why It Matters:
Nail drills aren’t just for filing and shaping—they can also be used to create intricate nail art designs, adding a unique touch to any manicure.
Technique Tips:
Why It Matters:
Proper maintenance of your nail drill and bits is essential for safety, hygiene, and extending the lifespan of your equipment. Regular cleaning and care ensure optimal performance and prevent cross-contamination.
Technique Tips:
Q1: How can I prevent over-filing with a nail drill?
A1: Use the correct speed and pressure for the task, and always keep the drill moving to avoid focusing too much on one spot. Practice on a sample nail to get a feel for the drill before working on a client or your nails.
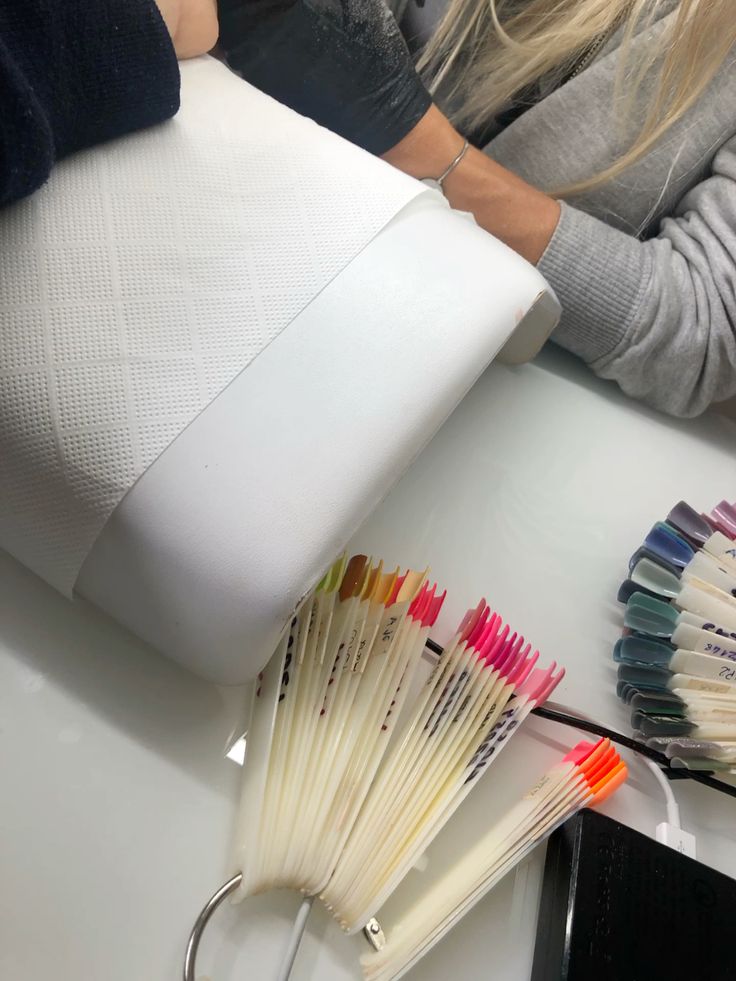
Q2: What’s the best way to practice using a nail drill?
A2: Start by practicing on practice fingers or a nail trainer hand. Begin with simple tasks like shaping and gradually work your way up to more complex techniques like cuticle work and nail art.
Q3: How often should I replace my nail drill bits?
A3: It depends on how often you use them. Regularly inspect your bits for signs of wear, such as dullness or rust. Replace them when they no longer perform effectively or after every few uses for optimal hygiene.
Q4: Can I use the same nail drill for natural nails and acrylics?
A4: Yes, but you’ll need to use different bits and speed settings for each material. Natural nails require a gentler touch and lower speeds, while acrylics can withstand higher speeds and coarser bits.
Q5: How do I choose the right drill bit for a specific technique?
A5: Consider the material you’re working on and the result you want to achieve. For example, use a fine bit for natural nails and cuticle work and a coarse bit for removing acrylics or gels.
Mastering nail drill techniques can significantly enhance your nail care skills, whether you’re a professional or a DIY enthusiast. By understanding the different tools and techniques available, you can achieve salon-quality nails safely and effectively. Remember to practice regularly, maintain your equipment, and stay updated on the latest trends and tips from industry leaders to keep your nail skills sharp and your clients happy.