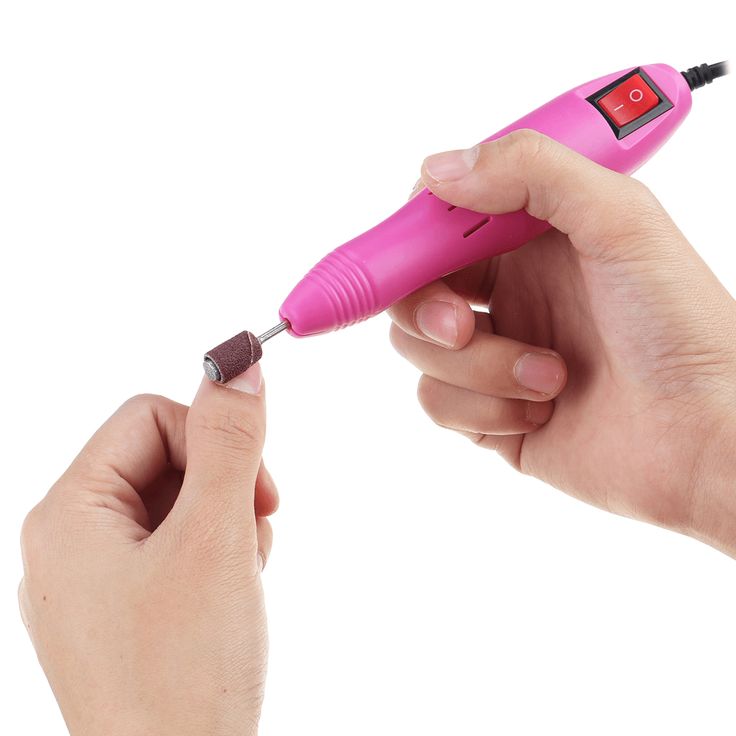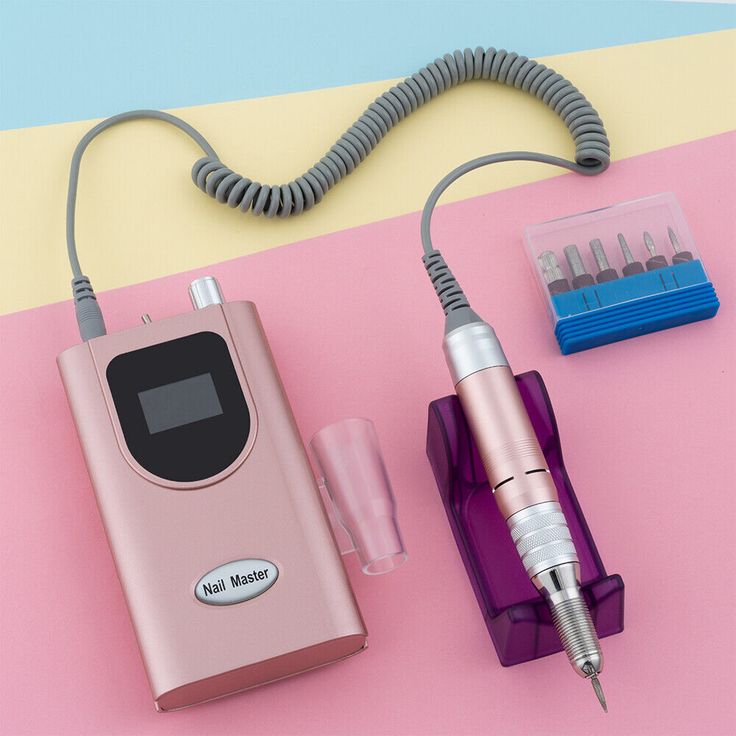
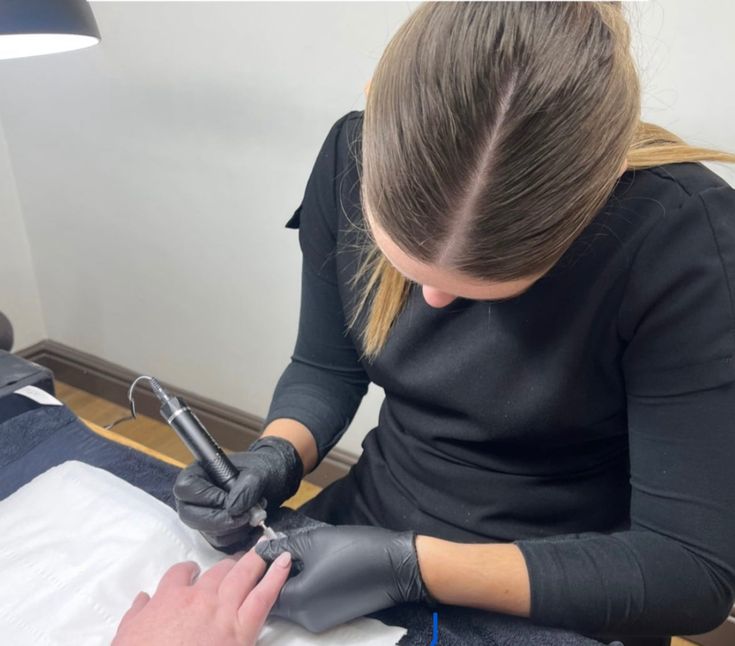
Achieving a salon-quality pedicure at home is easier than ever with the help of a NailDrillMachine. This powerful tool allows you to shape, buff, and smooth your toenails, giving them a professional finish without the need to visit a salon. Whether you’re a beginner or a seasoned DIY enthusiast, these tips will help you perfect your at-home pedicure.
Q1: Is it safe to use a nail drill machine on toenails?
A: Yes, it’s safe to use a nail drill machine on toenails, as long as you use the correct settings and bits. Start with a low speed and use gentle pressure to avoid damaging the nails.
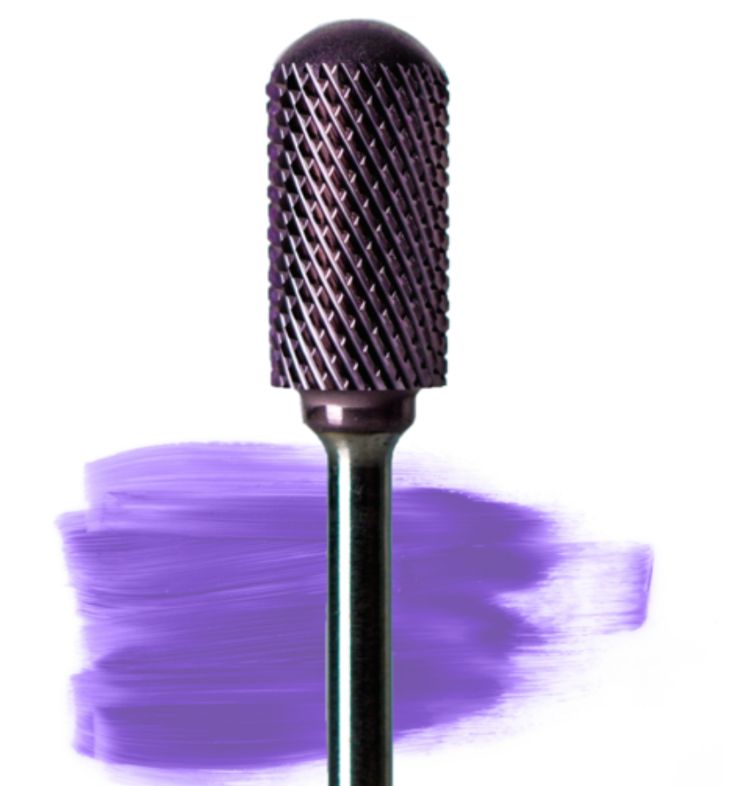
Q2: Which drill bits are best for pedicures?
A: For pedicures, use a coarse grit bit for reducing thick nails, a medium grit bit for smoothing, and a fine grit bit for finishing touches. A cuticle bit is also helpful for cleaning around the nail bed.
Q3: How do I prevent ingrown toenails when using a nail drill?
A: To prevent ingrown toenails, avoid filing too close to the edges of the nail. Keep the nail edges straight and smooth out any sharp corners without rounding them too much.
Q4: Can I use a nail drill machine to remove calluses?
A: Yes, some nail drill machines come with attachments specifically designed for removing calluses. Use a coarse grit bit on low speed to gently buff away dead skin, being careful not to overdo it.
Q5: How often should I give myself a pedicure with a nail drill machine?
A: Depending on your nail growth and lifestyle, a pedicure every 2-4 weeks is usually sufficient. Regular maintenance will keep your feet looking their best and prevent common issues like thickened nails and calluses.
1. Soak Your Feet
Start by soaking your feet in warm water for 10-15 minutes. You can add Epsom salts or essential oils for a relaxing experience. This will soften the nails and skin, making it easier to work with your NailDrillMachine.
2. Trim and Shape Your Toenails
After soaking, use a nail clipper to trim your toenails straight across to avoid ingrown nails. Shape the edges with a manual nail file, then use your nail drill machine with a fine grit sanding band to refine the shape.
3. Gently Push Back Cuticles
Attach a cuticle bit to your NailDrillMachine and set it to a low speed. Gently push back and clean the cuticles around each toenail. This step not only makes your pedicure look more polished but also helps prevent infections.
4. Smooth the Nail Surface
Using a medium grit sanding band, gently buff the surface of each toenail to smooth out any ridges or imperfections. This step is crucial for achieving a smooth, even application of polish or simply for a clean, natural look.
5. Address Thickened Nails
If your toenails are thickened, use a coarse grit bit to carefully reduce the thickness. Start at a low speed and gradually increase as needed, making sure to keep the drill moving to avoid heat buildup.
6. Buff Away Calluses
For calluses, switch to a callus remover attachment on your NailDrillMachine. Use the tool on low speed to gently buff away the hardened skin. Focus on areas like the heels and balls of your feet, but be careful not to remove too much skin.
7. Moisturize Your Feet
After you’ve finished filing and buffing, rinse your feet and pat them dry. Apply a rich foot cream or lotion to keep your skin hydrated and soft. Don’t forget to massage cuticle oil into your toenails and cuticles.
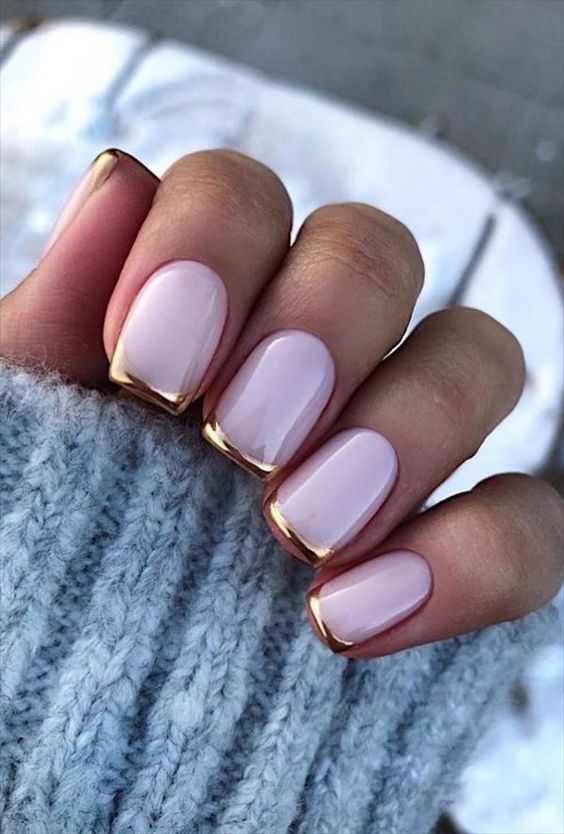
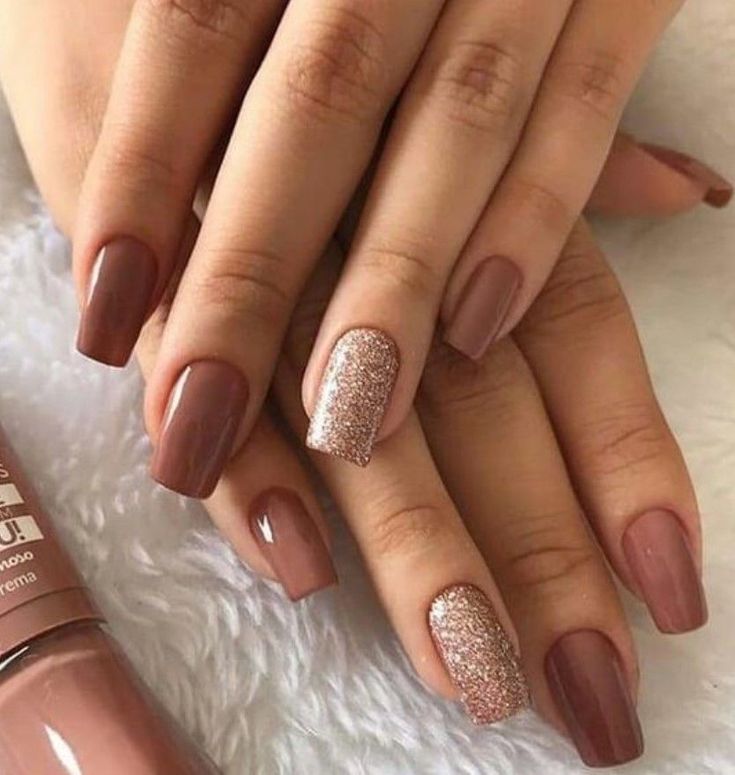
8. Apply Nail Polish (Optional)
If you want to add a pop of color, now’s the time to apply your nail polish. Start with a base coat, followed by two thin coats of your chosen color, and finish with a top coat for shine and longevity. Make sure to allow each layer to dry thoroughly before applying the next.
9. Maintain Your Tools
After your pedicure, clean your nail drill bits and attachments with a disinfectant solution. Proper maintenance of your tools will ensure they stay effective and safe for future use.
10. Regular Upkeep
To keep your feet looking their best between pedicures, moisturize daily and use a foot file or pumice stone to touch up any rough spots. Regular upkeep will extend the life of your pedicure and keep your feet healthy.
With the right tools and techniques, you can achieve a flawless at-home pedicure using a NailDrillMachine. By following these tips, you’ll enjoy smooth, well-shaped toenails and soft, callus-free feet that look and feel amazing. Whether you’re prepping for sandal season or just want to treat yourself, a DIY pedicure with a nail drill machine is the perfect way to pamper your feet.