Nail drill bits are essential tools for achieving precise and polished manicures and pedicures. However, like all tools, they have a lifespan and must be replaced regularly to maintain optimal performance and ensure safe use. Knowing when to replace your nail drill bits can prevent damage to your nails, reduce the risk of injury, and keep your nail drill machine functioning at its best. This comprehensive guide will help you identify the signs that it’s time to replace your nail drill bits.
Q1: How often should I replace my nail drill bits?
A: The frequency of replacement depends on how often you use them and the type of material they’re made from. Generally, replace bits every 3 to 6 months if used regularly.
Q2: What are the signs that a nail drill bit needs to be replaced?
A: Signs include dullness, rust, visible wear, reduced effectiveness, or a change in performance during use.
Q3: Can I sharpen my nail drill bits instead of replacing them?
A: Some carbide and diamond bits can be sharpened, but it’s often more cost-effective and safer to replace them, especially if they show signs of wear or damage.
Q4: What happens if I continue to use worn-out drill bits?
A: Using worn-out bits can lead to inefficient performance, increased risk of nail damage, discomfort, and potential injury.
Q5: How should I dispose of old nail drill bits?
A: Dispose of old bits safely by placing them in a puncture-proof container before throwing them away to prevent injuries.
Dullness:
One of the most obvious signs that your nail drill bit needs replacing is when it becomes dull. A sharp bit should glide smoothly over the nail, efficiently removing material without requiring excessive pressure. If you find that you need to apply more force than usual or that the bit isn’t cutting as cleanly, it’s likely time for a replacement.
Rust and Corrosion:
Nail drill bits are often made from materials like carbide, diamond, or ceramic, which are resistant to rust. However, if you notice any rust or corrosion on your bits, they should be replaced immediately. Rust can weaken the bit, making it prone to breaking during use, and can also introduce bacteria, compromising nail hygiene.
Visible Wear and Tear:
Over time, the surface of your drill bits may show signs of wear, such as chipping, cracks, or missing grit. Visible damage can make the bit less effective and potentially dangerous to use. Regularly inspect your bits for any signs of wear and replace them if you notice any damage.
Reduced Effectiveness:
If your nail drill bit isn’t performing as well as it used to, even after cleaning, it might be time for a new one. A reduction in effectiveness can be seen in how long it takes to complete tasks, such as filing or shaping, and whether the results are as smooth and polished as before.
Overheating:
Bits that are dull or damaged can cause your nail drill machine to overheat. If you notice that your machine is getting unusually hot during use, it could be due to a worn-out bit causing additional friction. Replacing the bit can help reduce overheating and extend the life of your machine.
Different types of nail drill bits have varying lifespans, depending on the material and frequency of use. Here’s a quick overview:
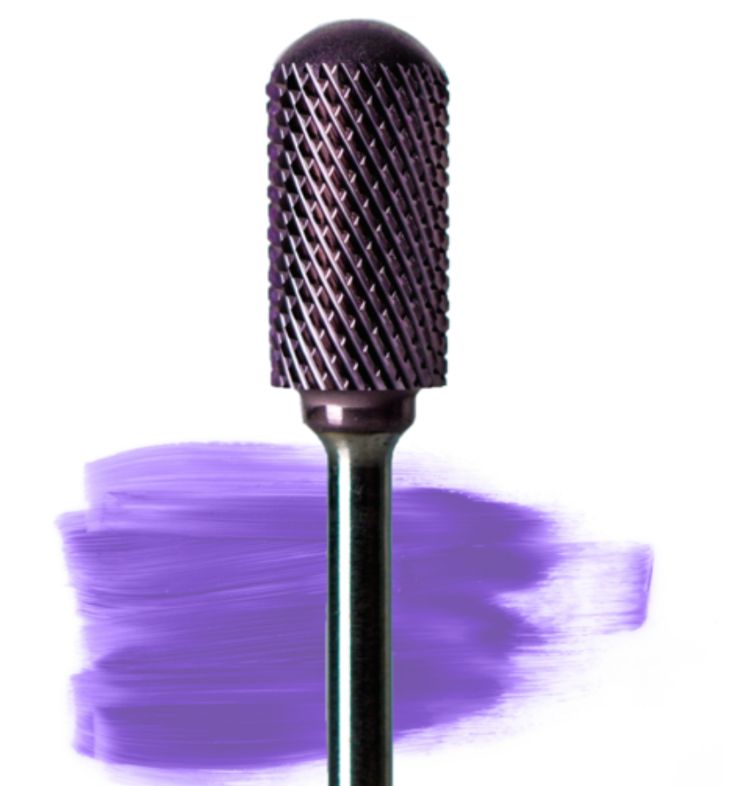
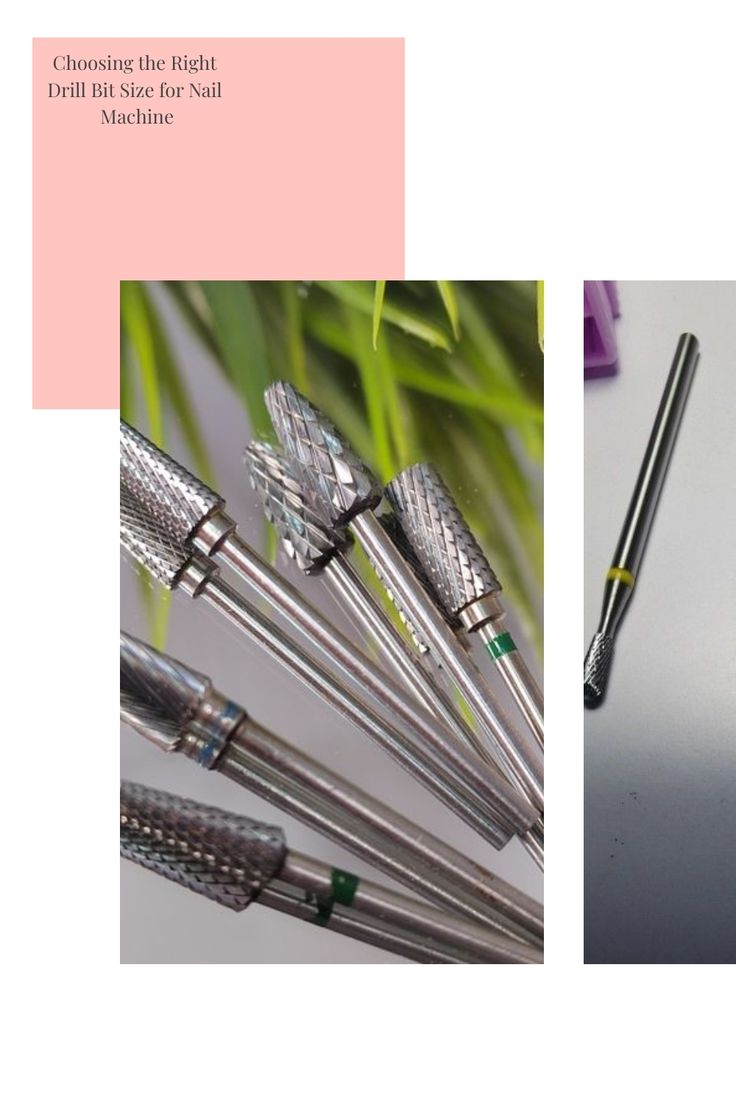
Carbide Bits:
Carbide bits are durable and designed for heavy use, but they can still wear down over time, especially if used on hard materials like acrylics. Replace carbide bits when you notice a decrease in cutting efficiency or visible wear.
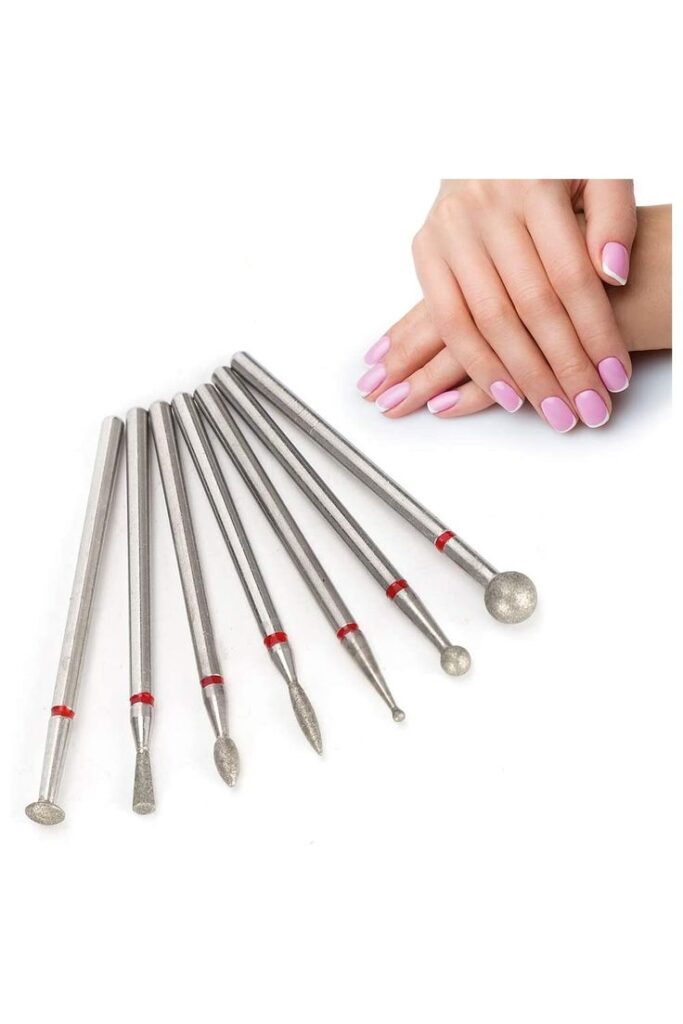
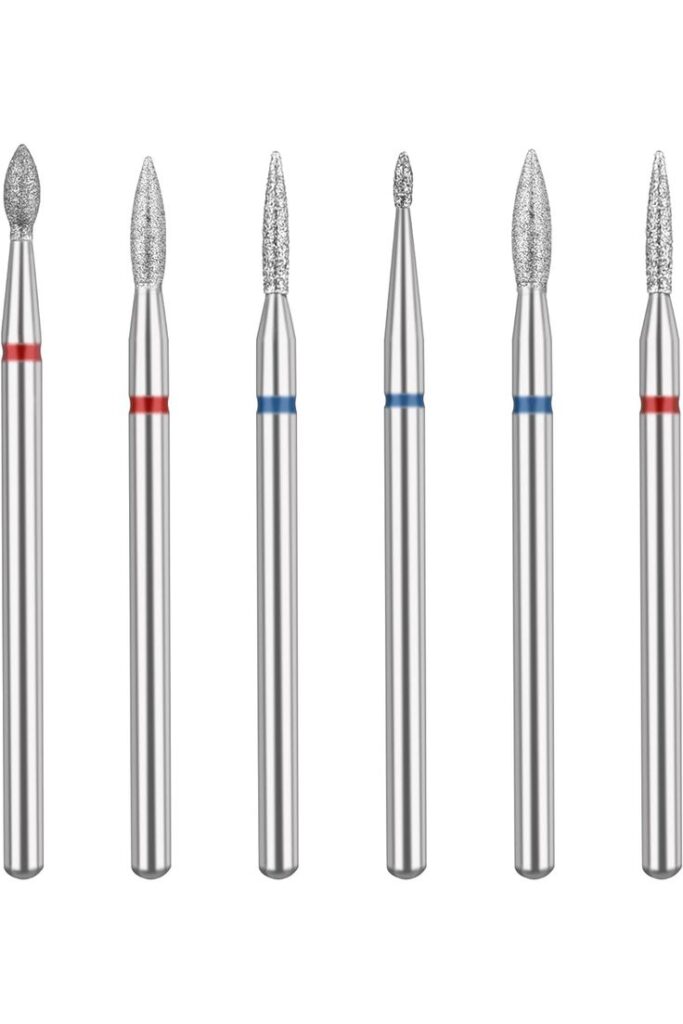
Diamond Bits:
Diamond bits are long-lasting, but the abrasive surface can wear down after extended use. If the bit no longer feels gritty or takes longer to perform tasks, it’s time for a replacement.
Ceramic Bits:
Ceramic bits are known for their smooth operation and resistance to heat. However, they can chip or crack if dropped. Replace ceramic bits if you notice any chips or a decrease in performance.
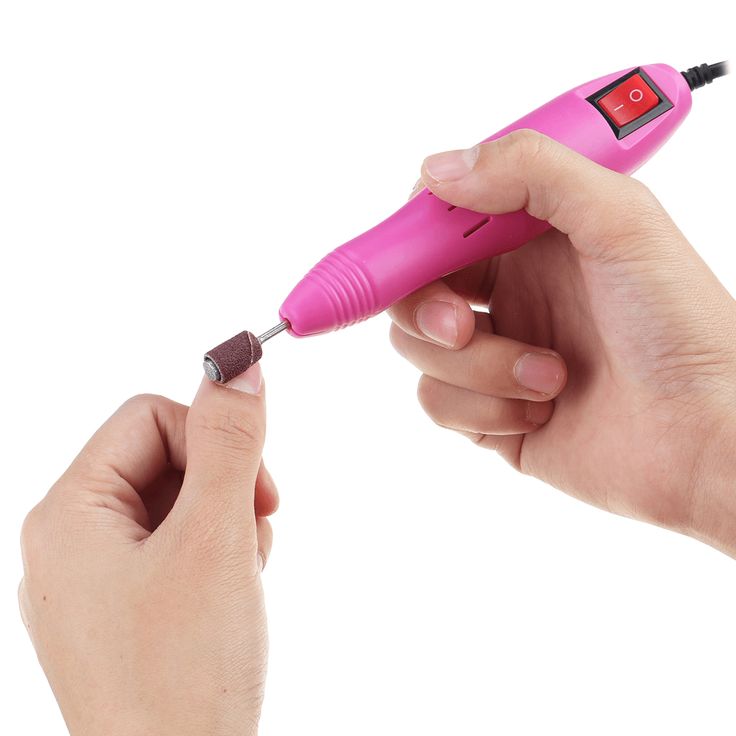
Sanding Bands:
Sanding bands are not designed for long-term use and should be replaced after each use to maintain hygiene and effectiveness. These are typically disposable.
Proper care and maintenance can extend the life of your nail drill bits, delaying the need for replacements. Here are some tips:
Regular Cleaning:
Clean your bits after each use to remove dust and debris. Use a brush and isopropyl alcohol to disinfect them, and allow them to dry completely before storing.
Proper Storage:
Store your bits in a clean, dry place, preferably in a case that keeps them organized and protected from damage.
Avoid Overheating:
Overheating can cause premature wear on your bits. Use the correct speed settings for the task at hand and avoid applying too much pressure during use.
Rotate Your Bits:
If you use multiple bits regularly, rotate them to ensure even wear and prolong their lifespan.
If you’re unsure whether a nail drill bit is still usable, it’s better to err on the side of caution and replace it. Using a damaged or worn-out bit can lead to subpar results, discomfort, and potential injury. Keeping a stock of new bits on hand ensures you’re always ready to replace old ones when needed.
Replacing your nail drill bits regularly is key to maintaining high-quality results and ensuring safe use. By recognizing the signs of wear and taking proper care of your bits, you can prolong their lifespan and protect your nails from damage. Remember, investing in new bits when needed is an investment in your nail care routine.